
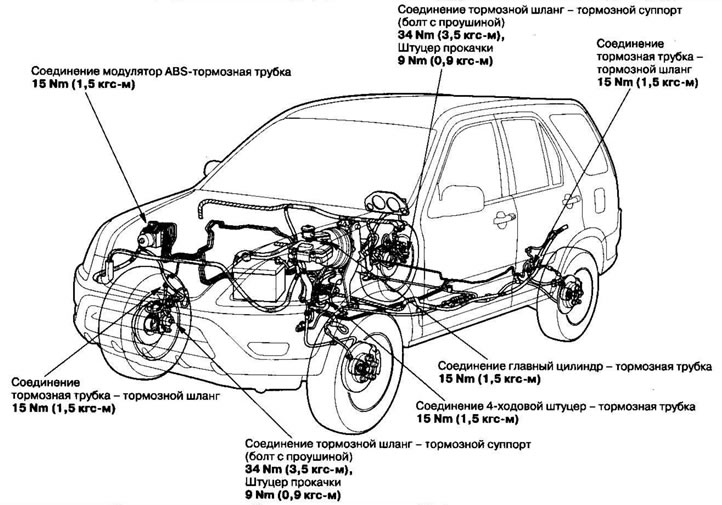
Note:
- Do not spill brake fluid on your car as it may damage the paintwork; if liquid does spill, wash it off immediately with water.
- To prevent liquid from spilling, cover the hose joints with rags or napkins.
- Before assembly, make sure that the components are free of dust and other foreign particles.
- Replace parts with new ones when instructed to do so.
1. Replace the brake hose (A) if it is kinked, cracked or leaking.
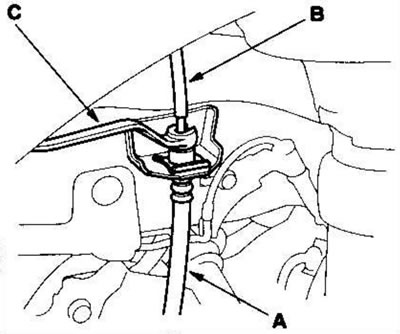
2. Disconnect the brake hose from the brake pipe (B) using a 10 mm open-end wrench (C).
3. Loosen the flange bolt (A) and remove the brake hose brackets from the shock absorber.
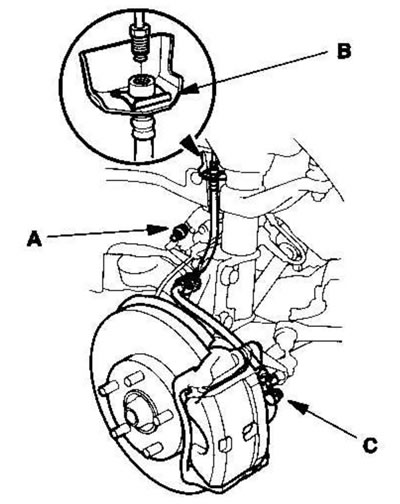
4. Remove the clamp (B) from the brake hose and discard it.
5. Remove the eye bolt (C) and disconnect the brake hose from the caliper.
6. First, secure the brake hose bracket (A) to the shock absorber with the flange bolt (B), then connect the brake hose to the caliper with the eye bolt (C), installing new sealing washers (D).
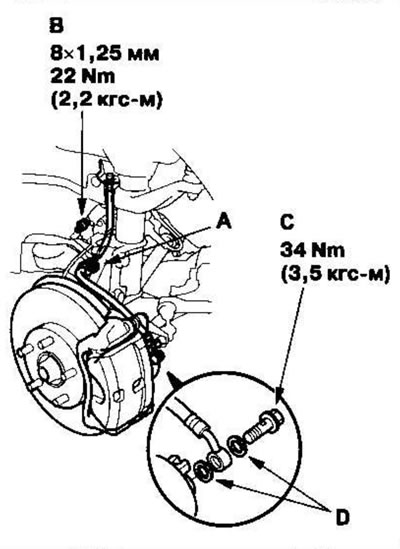
7. Secure the brake hose to the bracket on the body with a new clamp (A).
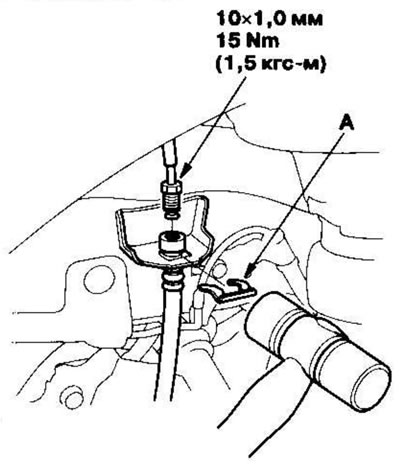
8. Connect the brake pipe to the brake hose.
9. After connecting the brake hose installation, bleed the brake system.
10. Perform the following checks:
- Check for leaks at the junction of the brake hose and brake pipe and tighten if necessary.
- Check that the brake hoses are not obstructed or kinked.
(You will find the original on the portal HondaBook)