
Examination
1. Drive, or as they are sometimes called, V-belts are located in front of the power unit and play an important role in the operation of the engine and many other vehicle systems. Belts wear out over time and should be regularly inspected as part of the vehicle's routine maintenance schedule to avoid serious engine failures that can cost the owner a lot of money to fix.
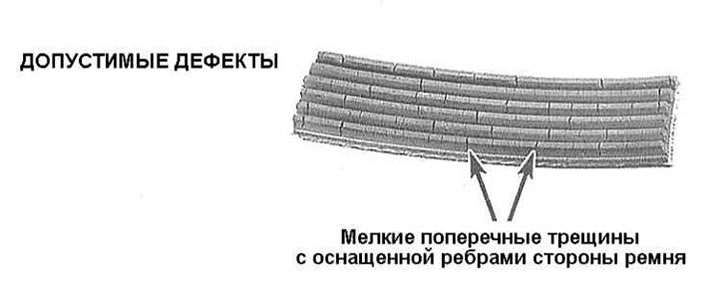
Note. The family of V-shaped belts also includes multirib belts.
2. The number of drive belts used on the engine depends on the vehicle equipment. Belts are used to drive accessories such as generator, steering and water pumps, air conditioner compressor, etc. Depending on the pulley layout, more than one unit can be driven by one belt.

3. Shut off the engine, open the hood and locate the drive belts at the front of the power unit. Lighting yourself with a flashlight, feel the belts along their entire length with your fingers, checking for cracks and delaminations. The presence of abrasions, areas polished to a shine and other obvious defects on the belt is also unacceptable. Inspect the belts on both sides, for which twist them.

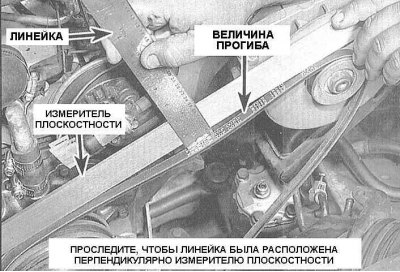
4. Checking the belt tension is done by pressing it with your thumb in the area in the middle between two adjacent pulleys. The pressure must be firm enough. The parameter characterizing the belt tension force is the value of its deflection when pressed. As a rule, if the pulleys are spaced from each other at a distance of 180 to 280 mm, the deflection should be 6.4 mm, the distance between the pulleys of 305 ÷ 405 mm corresponds to a deflection of 12.5 mm for a V-belt, and 6.4 mm for a multi-ribbed one.
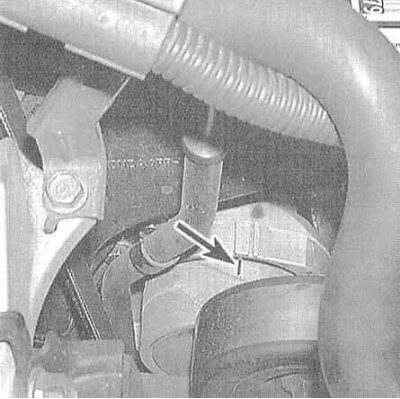
5. On models equipped with V6 engines, the alternator / air conditioner compressor drive belt is equipped with an automatic tensioner, while the possibility of adjusting its tension is not provided. The automatic tensioner includes a belt wear indicator (according to its stretch).
Adjustment
1. On V6 models, the alternator/air conditioner compressor drive belt is equipped with an automatic tensioner. The adjustment of the tension force of all other belts is done manually by shifting the units they drive in the appropriate direction.
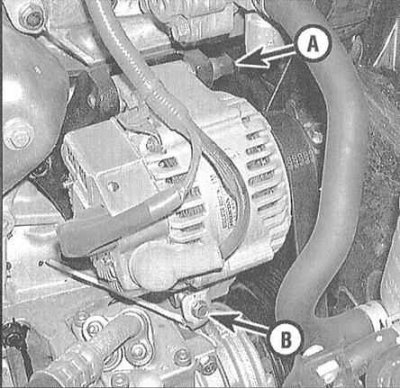
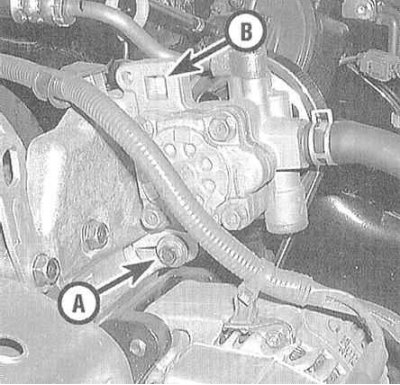
2. To adjust the tension of the alternator belt on 4-cylinder models and the steering pump drive belt on V6 models, loosen the fastening bolts of the respective units and turn the adjusting bolt in the required direction (clockwise to tighten the belt, counterclockwise to loosen it).
3. The steering pump drive belt on 4-cylinder models is adjusted by loosening the mounting bolts and moving the unit using a socket wrench with a half inch square bit.
4. After completing the adjustment, make sure the belt tension is correct. Repeat the adjustment procedure if necessary.
Replacement
1. On V6 models, slip a long wrench of the appropriate size onto the tensioner pulley center bolt and turn the tensioner counterclockwise to remove the alternator belt. On all other models, to remove the alternator belt from your pulleys, loosen the belt tension in accordance with the instructions above. It makes sense to replace all drive belts at the same time. Before finally removing the belt from the car, mark the direction of its rotation of the belt and the laying pattern in the pulley streams.
2. When buying new belts, take the old ones with you as samples - replacement belts must strictly match those removed from the car in terms of size.
3. Upon completion of the replacement, adjust the tension of the new belts.