
Correct ATF level is one of the critical operating parameters of models equipped with AT. A low ATF level can lead to slippage of the rotation converter, while an excessive amount of fluid leads to foaming, leaks and is fraught with transmission failure.
The ATF level should be checked with the vehicle parked on a level horizontal surface with the engine turned off for a minute.
1. Remove the dipstick located at the front of the transmission case near the right bulkhead of the engine compartment on 4-cylinder models, or the left side of the compartment on V6 models. The dipstick has a bright yellow ring-shaped handle. Use your fingers to remove any traces of ATF from the blade of the dipstick and feel its condition.
2. Wipe the blade thoroughly with a clean cloth and insert the probe back into the guide tube, firmly fitting the cap onto the neck.
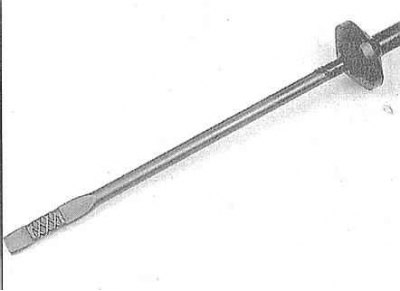
3. Remove the dipstick from the filler neck again and determine the ATF level in the transmission housing by the size of the wetted area of the blade. If necessary, make the appropriate adjustments by adding the required grade of fluid to the transmission through a funnel. On 4-cylinder models, pour the fluid directly into the filler neck of the dipstick guide tube. On V6 models, there is a separate filler hole, from which you must first unscrew the plug.
4. To raise the ATF level from the lower limit of the dipstick's working range to the upper limit, approximately 0.6 liters of liquid is required - fill in small portions in several steps, checking the level each time.
5. At the same time as the level, the condition of the ATF should also be checked. If the fluid wetting the end of the dipstick blade has a dark reddish-brown tint or smells of burning, the ATF should be replaced (see Section Maintenance of the cooling system (emptying, flushing and filling)). If you are not sure that the condition of the transmission fluid is correct, compare it by color and smell with fresh ATF.
(Original material on the website: hondabook.ru)