HondaBook.ru
Auto companies Volkswagen Auto companies Ford Auto companies Lada Auto companies Skoda Auto companies BMW Auto companies Mazda Auto companies Peugeot
English Русский
Български
Беларускі
Український
Српски
Hrvatski
Română
Polski
Slovenský
Magyar
Bookmark Contacts Sitemap   


Accord Civic Fit / Jazz CR-V HR-V Others Articles
CR-V 1 (1995-2001, petrol) CR-V 2 (2002-2006, petrol)

Inner door panel — removal and installation (Honda CR-V 1)

  • Main
  • Honda CR-V
  • 1 (1995-2001, petrol)
  • Body and interior
  • Interior (internal elements)
  • Inner door panel — removal and installation
0
Contents: CR-V ⇊ 4-cylinder Odyssey ⇊ 6-cylinder Odyssey ⇊

CR-V


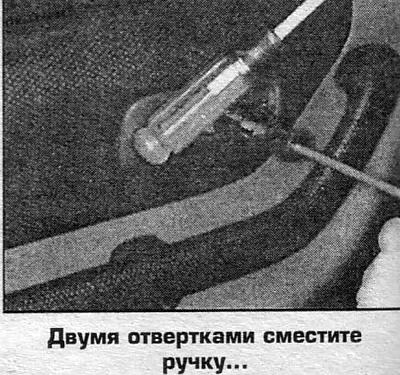
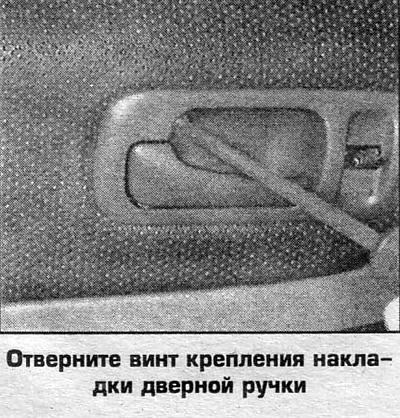
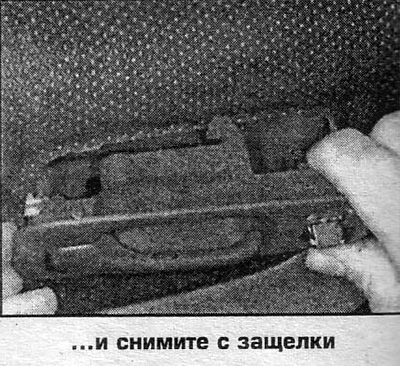
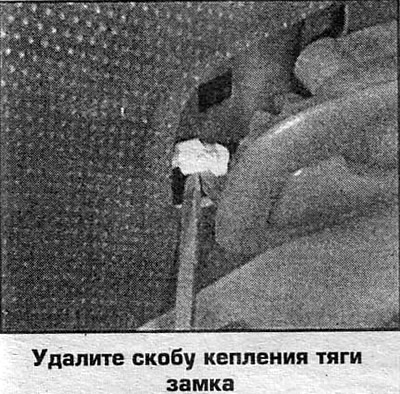
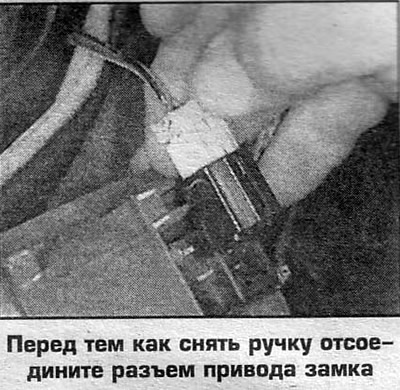
1. Loosen the screw securing the door handle trim and remove the trim. Remove the lock rod mounting bracket, disconnect the lock drive connector and remove the handle (photo).

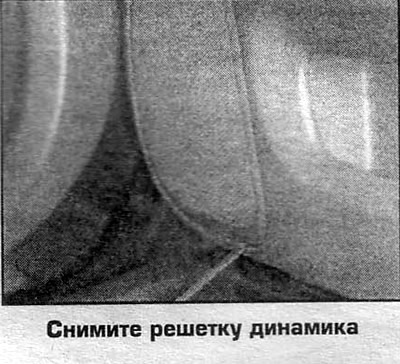
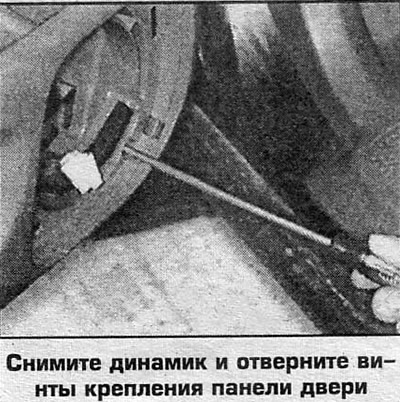
2. Remove the speaker by removing the grille and unscrewing the screws (see Ch. 6).

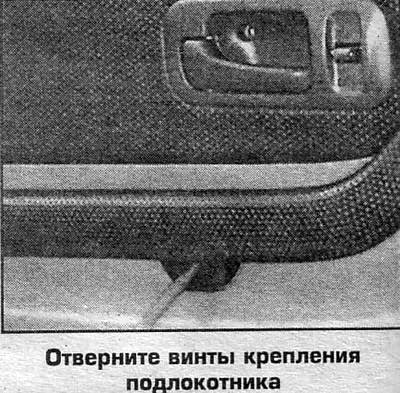
3. Loosen the armrest mounting screws.

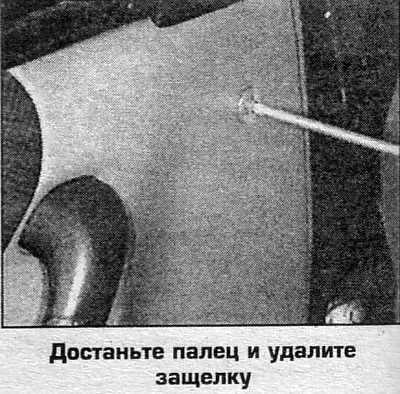
4. Remove the trim retaining clip from the upper front corner of the door panel (first get your finger in the center of the latch).

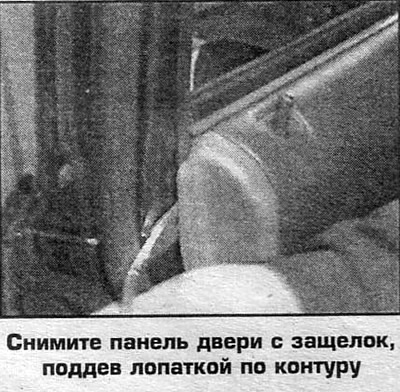
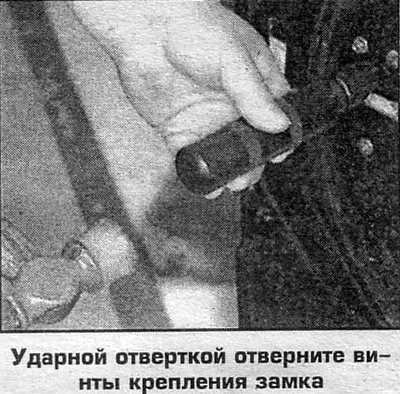
5. Loosen the screws securing the door panel and remove the door panel from the latches by prying it along the contour with a spatula.

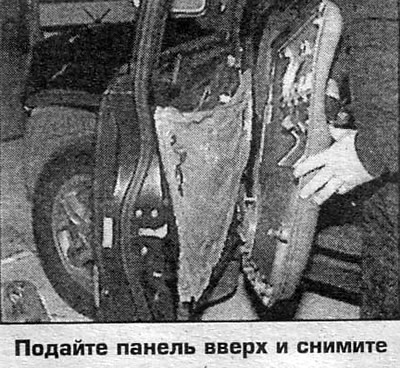
6. Lift the panel up and remove it from the door.

7. Installation is carried out in reverse order.

4-cylinder Odyssey


1. Loosen the screw securing the door handle trim and remove the trim. Remove the lock rod mounting bracket, disconnect the lock drive connector and remove the handle.

2. Remove the plugs in the armrest pocket and unscrew the screws.

3. Remove the plug under the armrest and unscrew the screw.

4. Loosen the screws securing the door panel and remove the door panel from the latches by prying it along the contour with a spatula.

5. Disconnect the connectors, lift the panel up and remove it from the door.

6. Installation is carried out in reverse order.

6-cylinder Odyssey


1. Loosen the screw securing the door handle trim and remove the trim.

Remove the lock rod mounting bracket, disconnect the lock drive connector and remove the handle.

2. Remove the speaker grille


3. Loosen the screws securing the door panel along the speaker contour.

4. Remove the plug and unscrew the screw in the armrest pull-out case.

5. Press the armrest case to release the hook, then pull out, disconnect the connector and remove the case.

6. Remove the door panel from the latches by prying it along the contour with a spatula.

7. Lift the panel up, disconnect the connectors and remove the panel from the door.

8. Installation is carried out in reverse order.
8. Installation is carried out in reverse order.

8. Installation is carried out in reverse order.

8. Installation is carried out in reverse order.

8. Installation is carried out in reverse order.

8. Installation is carried out in reverse order.

8. Installation is carried out in reverse order.
This article is available at: russian, bulgarian, belarusian, ukrainian, serbian, croatian, romanian, polish, slovak, hungarian
This information has been verified: Emil Safonov
Share with friends:
◀ Previous
CR-V 1: Interior (internal elements)
Next ▶

Instrument cluster sections, covers and vents (6-cylinder Odyssey)
Instrument cluster sections, covers and vents (4-cylinder Odyssey)
Instrument cluster sections, covers and air vents (CR-V)
Instrument cluster (Odyssey V6) — removal and installation
Instrument Cluster (4-Cylinder Odyssey) — Removal and Installation
Door locks — removal and installation
Drum switch lock — removal and installation
Rear Window/Tailgate Lock — Removal and Installation
Rear Door Lock — Removal and Installation
Glass and window lifter — removal and installation
See also other articles from Honda manuals:
Fan switch and instrument panel Honda Accord 3 (1985-1989)
Removal and installation the front door panel Honda Civic 8 (2005-2011)
Door lock Honda Fit 1 (2001-2008)
Removal and installation the door panel Honda HR-V 1 (1998-2006, petrol)
Childproof Door Lock Safety Device Honda Avancier 1 (1999-2003, petrol)
Link in different formats to this article
Comments and feedback from visitors
No comments yet


How much will 24 + 40 ?


CR-V 2 (2002-2006, petrol) 
  • General information
  • User manual
  • Technical data
  • Maintenance
  • Power unit
  • Engine repair
  • Lubrication system
  • Cooling system
  • Exhaust system
  • Fuel system
  • Engine management
  • Engine electrical equipment
  • Transmission
  • Clutch
  • Manual gearbox
  • Automatic gearbox
  • Rear differential
  • Drive shafts
  • Chassis and running gear
  • Steering
  • Front suspension
  • Rear suspension
  • Brake system
  • Body and interior
  • Exterior (external elements)
  • Interior (internal elements)
  • Doors, locks and windows
CR-V 1 (1995-2001, petrol) 
  • General information
  • Maintenance
  • Tips for car owner
  • Power unit
  • Engine repair
  • Engine overhaul
  • Cooling and lubrication system
  • Engine electrical equipment
  • Control system
  • Fuel system
  • Transmission
  • Clutch and drive shafts
  • Car gearbox
  • Chassis and running gear
  • Front suspension
  • Rear suspension
  • Steering
  • Brake system
  • Body and interior
  • Body service
  • Exterior (external elements)
  • Interior (internal elements)
  • Electrical equipment
  • Equipment and devices
  • Electrical circuits
HondaBook.ru © 2018–2026 • Mobile version • Sitemap: EN BG BY UA RS HR RO PL SK HU • Feedback • Driver Information • Search system • Bookmark
Accord 3 (1985-1989) • Accord 6 (1997-2002) • Civic 3 and 4 (1983-1991) • Civic 5 and 6 (1991-2000) • Civic 6 (1995-2000) • Civic 7 (2000-2005) • Civic 8 (2005-2011) • Fit 1 (2001-2008) • CR-V 1 (1995-2001) • CR-V 2 (2002-2006) • HR-V 1 (1998-2006) • Avancier 1 (1999-2003) •
 
This website uses cookies to ensure proper functioning. By clicking "OK," you agree.