
2. When the head is returned from the workshop, the valves and associated components will already be installed in it. In this case, you should omit the procedures of the next five paragraphs and proceed directly to the actions described in paragraph 8.
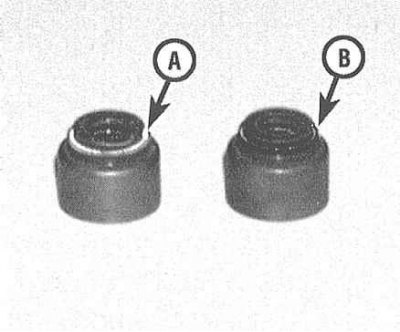
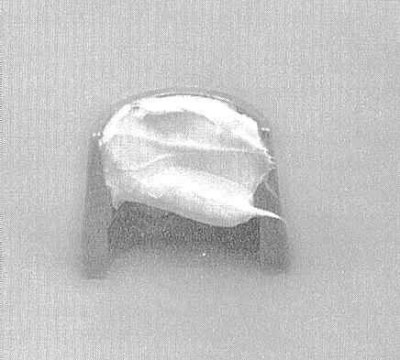
3. First of all, install the valve spring seats on the valve guides, then put a new oil seal on each of the valve guides. Oil seals (intake and exhaust valves) "planted" onto their guide bushings by gently tapping with a hammer through a suitable mandrel or socket head of a suitable size.
Attention! Stop tapping the cap as soon as it is completely "sit down" on the hub - further impacts may damage the rubber. Make sure that the caps are not twisted on the bushings.
The valve stem seals for the intake and exhaust valves are different sizes and are color coded - do not mix them up.
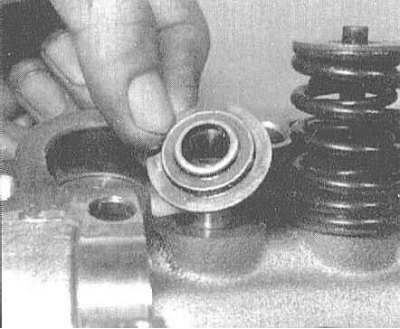 |  |
4. Working from one end of the head to the other, lubricate the first valve with molybdenum or engine assembly grease and seat it in the head. Lubricate the valve stem with clean engine oil.
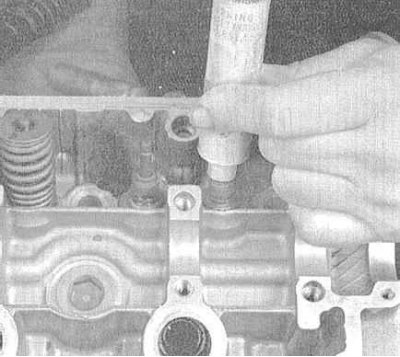
5. Using a vernier caliper, check the installation height of the stems of each of the valves one by one (distance from the seat of the springs to the end surface of the valve stem).
Attention! If the head was repaired in a car service workshop, this parameter will already be adjusted properly.
If the result of any of the measurements exceeds the value allowed by the Specifications, replace the corresponding valve and repeat the test. If replacing the valve does not correct the situation, then the valve seat is too deep into the head and the latter must be replaced.
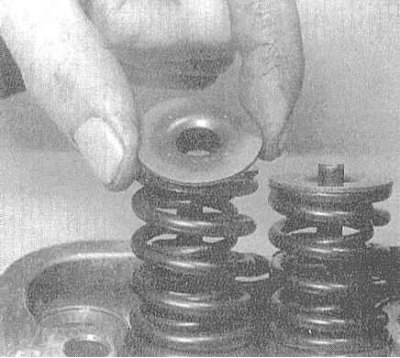
6. Place the valve springs and their plate on the stem.
Attention! Valve springs are installed in coils with a shortened pitch to the head.
7. Using a special tool, compress the springs by lowering the plate, then install the crackers of the split lock into the opened groove on the valve stem. In order to temporarily fix the crackers before releasing the tool, lubricate them from the inside with a thick lubricant.
8. Repeat the procedure for the remaining valves. Make sure that all components are installed strictly in their original places.
9. Installing the camshaft (ov) and rocker assemblies are made after the head is completed in a reduced set (see Section Alternative options for engine reconditioning schemes).