
Note. A new or remanufactured cylinder head can always be ordered at a car service workshop or at the warehouse of the car manufacturer's company service center. Due to the need to use some special tools during disassembly and checking the condition of the head, the compilers of this Guide believe that it will be easier and cheaper for an amateur mechanic to purchase a replacement head than to get involved in a rather complicated restoration repair of a worn one.
Immediately after removing the head, remove the jet from the engine block (s) oil spray, clean it (their) and place in a separate plastic bag.
1. Disassembly of the cylinder head requires prior dismantling of the valve train (intake and exhaust valves with related components). It is understood that the rocker arms and camshaft (s) already removed from the head.
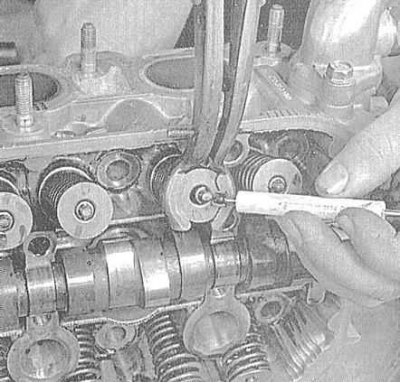
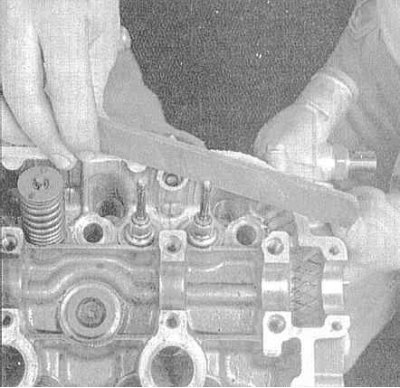
2. Using a special tool, compress the springs of the first valve and remove the crackers of the split lock of the plate from the groove on the rod. Carefully release the tool and remove the spring plate, springs and their seat from the valve (depending on configuration).
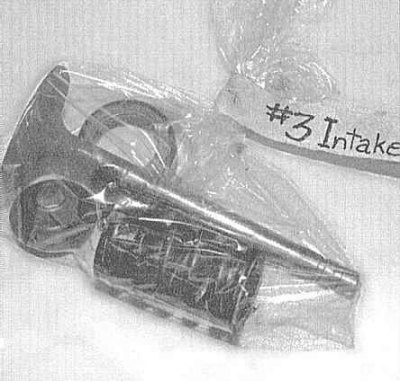
3. Place the removed valve assembly components in a clearly numbered separate plastic bag.
4. Next, remove the valve from the cylinder head and remove the oil seal from the guide sleeve. If the valve is jammed in the guide sleeve, push it back into the head and with a whetstone or a fine-toothed file, carefully clean the edges of the groove for installing crackers.
5. In the same manner, remove the remaining valve assemblies. Put the removed components of each of the valves in a separate, labeled bag - during assembly, each part must be installed exactly in its original place.
6. Once all the valvetrain components have been removed and stowed in an organized manner, you can proceed with the cleaning and inspection procedures for the head (in case of a full-scale reconditioning of the engine, before completing its disassembly).