HondaBook.ru
Auto companies Volkswagen Auto companies Ford Auto companies Lada Auto companies Skoda Auto companies BMW Auto companies Mazda Auto companies Peugeot
English Русский
Български
Беларускі
Український
Српски
Hrvatski
Română
Polski
Slovenský
Magyar
Bookmark Contacts Sitemap   


Accord Civic Fit / Jazz CR-V HR-V Others Articles
CR-V 1 (1995-2001, petrol) CR-V 2 (2002-2006, petrol)

Clutch — removal and installation (Honda CR-V 1)

  • Main
  • Honda CR-V
  • 1 (1995-2001, petrol)
  • Transmission
  • Clutch and drive shafts
  • Clutch — removal and installation
0
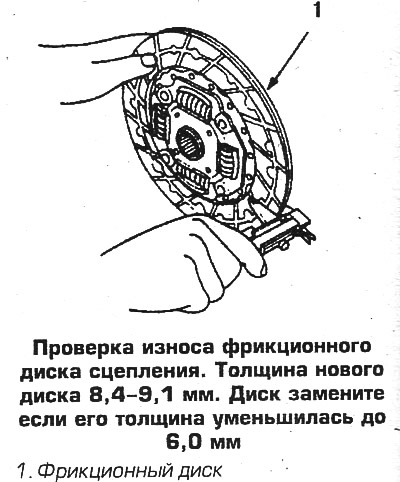
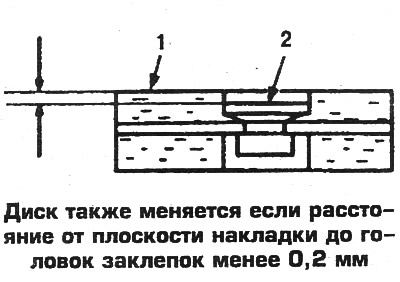
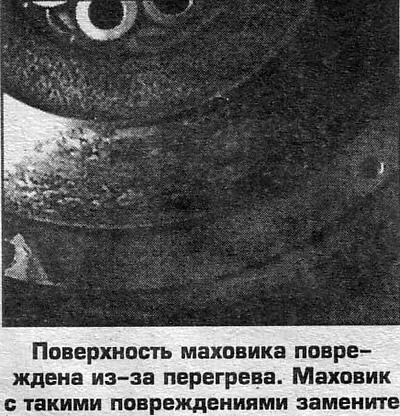
When disassembling and removing the gearbox, it is recommended to replace all clutch parts (including basket, friction disc, guide bearing and clutch release parts). If traces of severe damage are found on the flywheel, it is recommended to replace the flywheel assembly with the clutch (supplied as spare parts). It is prohibited to replace clutch parts with used ones.

CR-V Models


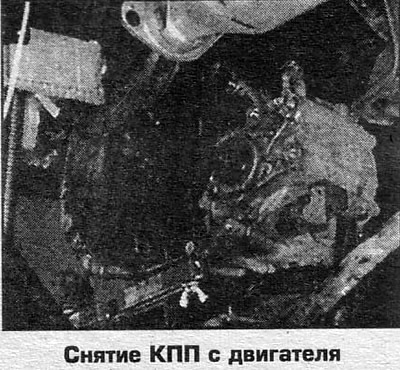
1. Remove the gearbox.

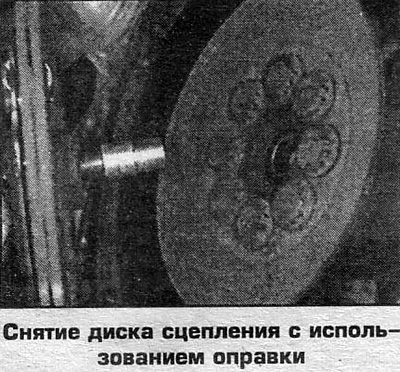
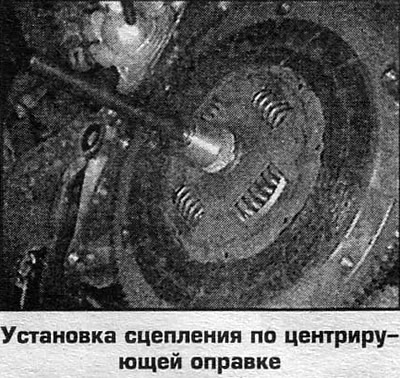
2. Insert the mandrel into the hole of the gearbox input shaft.

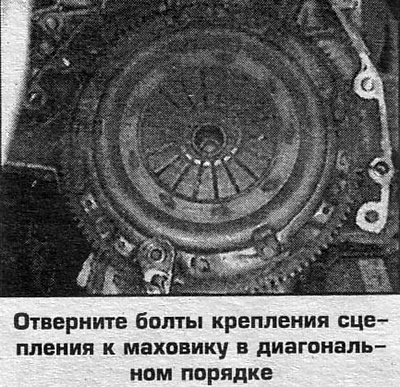
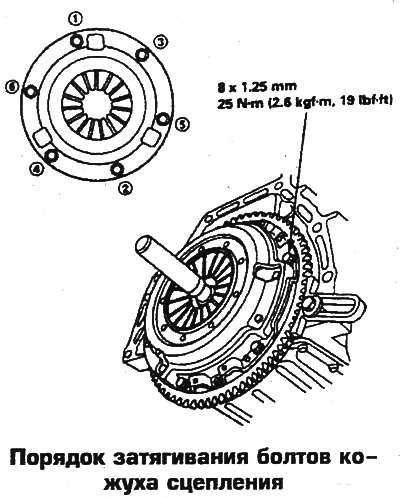
3. Evenly, in a diagonal order, making no more than 2 turns per pass, unscrew the bolts securing the clutch to the flywheel.

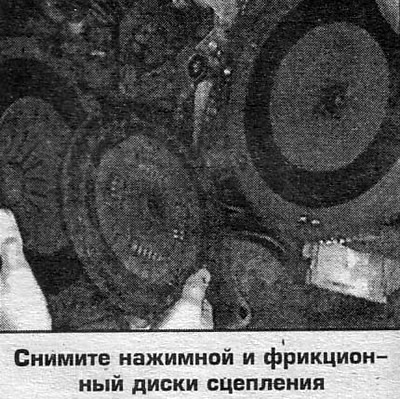
4. Remove the clutch housing and friction discs.

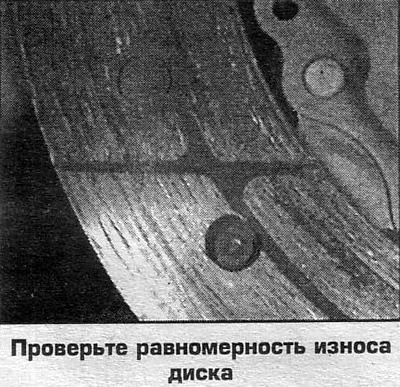
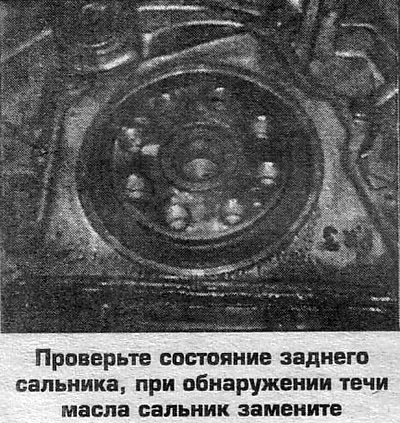
5. Check the condition of the flywheel. If the rear oil seal is leaking, remove the flywheel and replace the seal.

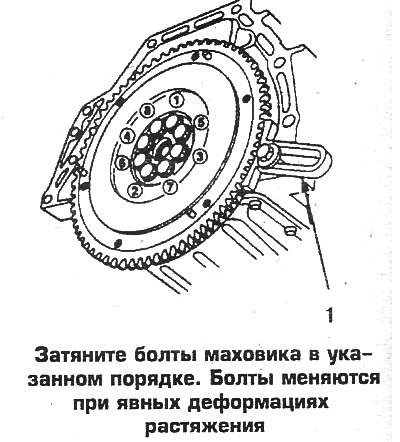
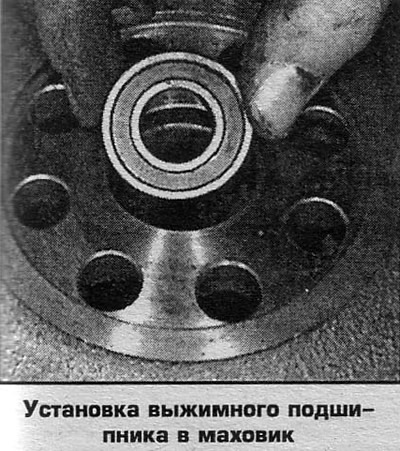
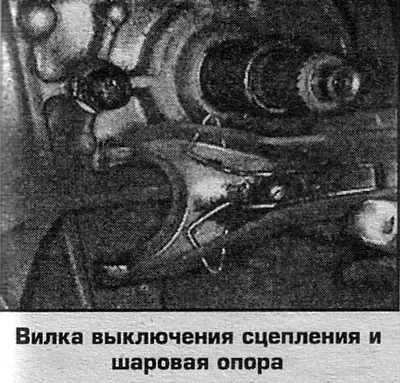
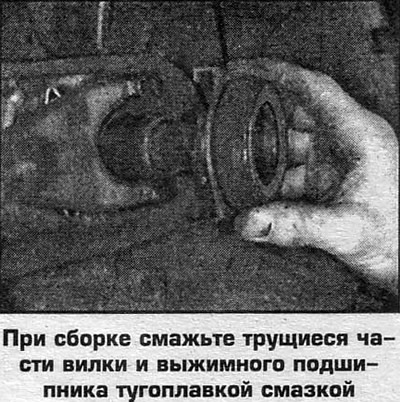
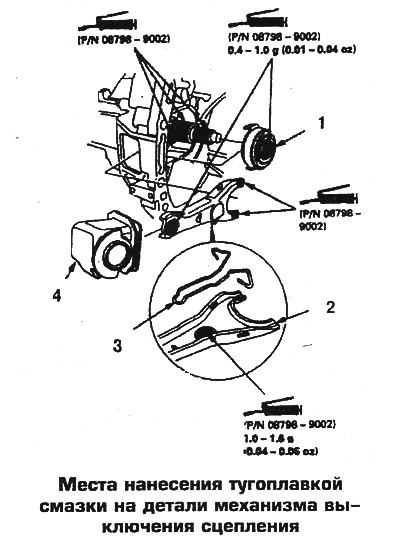
6. Installation is carried out in reverse order. Install the clutch on the centering mandrel. If the flywheel was removed, check the condition of its mounting bolts. Clean the flywheel before assembly. When replacing the seal, remove any sharp edges and press the seal so that its surface is flush with the housing surface (it is prohibited to lubricate the seal with sealant). When installing, lightly lubricate the seal lips with technical petroleum jelly. Lubricate the friction parts of the clutch release mechanism (forks, release bearing, etc.) refractory grease. Tighten the flywheel and clutch bolts in the order shown (photo).
6. Installation is carried out in reverse order.…

6. Installation is carried out in reverse order.…

6. Installation is carried out in reverse order.…

6. Installation is carried out in reverse order.…

6. Installation is carried out in reverse order.…

6. Installation is carried out in reverse order.…

6. Installation is carried out in reverse order.…

6. Installation is carried out in reverse order.…


(Refer to the original source on the website www.hondabook.ru)
This article is available at: russian, bulgarian, belarusian, ukrainian, serbian, croatian, romanian, polish, slovak, hungarian
This information has been verified: Emil Safonov
Share with friends:
◀ Previous
CR-V 1: Clutch and drive shafts
Next ▶

CV joint assembly
Disassembling the CV joint
CV joints — removal and installation
Half shafts — inspection, removal and installation
Free play of the clutch pedal
Clutch Master Cylinder — Removal and Installation
Slave cylinder — removal and installation
Bleeding the Clutch Hydraulic Drive
Cardan shaft — removal and installation
See also other articles from Honda manuals:
Checking the functionality of the clutch switch signal Honda Accord 3 (1985-1989)
Clutch — description and control Honda Civic 3 and 4 (1983-1991)
Checking the clutch fluid level Honda Fit 1 (2001-2008)
Checking the starter overrunning clutch Honda HR-V 1 (1998-2006, petrol)
Automatic transmission clutch pressure solenoid valves A and B —… Honda Avancier 1 (1999-2003, petrol)
Link in different formats to this article
Comments and feedback from visitors
No comments yet


How much will 12 + 47 ?


CR-V 2 (2002-2006, petrol) 
  • General information
  • User manual
  • Technical data
  • Maintenance
  • Power unit
  • Engine repair
  • Lubrication system
  • Cooling system
  • Exhaust system
  • Fuel system
  • Engine management
  • Engine electrical equipment
  • Transmission
  • Clutch
  • Manual gearbox
  • Automatic gearbox
  • Rear differential
  • Drive shafts
  • Chassis and running gear
  • Steering
  • Front suspension
  • Rear suspension
  • Brake system
  • Body and interior
  • Exterior (external elements)
  • Interior (internal elements)
  • Doors, locks and windows
CR-V 1 (1995-2001, petrol) 
  • General information
  • Maintenance
  • Tips for car owner
  • Power unit
  • Engine repair
  • Engine overhaul
  • Cooling and lubrication system
  • Engine electrical equipment
  • Control system
  • Fuel system
  • Transmission
  • Clutch and drive shafts
  • Car gearbox
  • Chassis and running gear
  • Front suspension
  • Rear suspension
  • Steering
  • Brake system
  • Body and interior
  • Body service
  • Exterior (external elements)
  • Interior (internal elements)
  • Electrical equipment
  • Equipment and devices
  • Electrical circuits
HondaBook.ru © 2018–2026 • Mobile version • Sitemap: EN BG BY UA RS HR RO PL SK HU • Feedback • Driver Information • Search system • Bookmark
Accord 3 (1985-1989) • Accord 6 (1997-2002) • Civic 3 and 4 (1983-1991) • Civic 5 and 6 (1991-2000) • Civic 6 (1995-2000) • Civic 7 (2000-2005) • Civic 8 (2005-2011) • Fit 1 (2001-2008) • CR-V 1 (1995-2001) • CR-V 2 (2002-2006) • HR-V 1 (1998-2006) • Avancier 1 (1999-2003) •
 
This website uses cookies to ensure proper functioning. By clicking "OK," you agree.