
Removal
1. Raise the vehicle.
2. Remove the front wheels.
3. Unscrew the hose bracket mounting bolts on the stand.
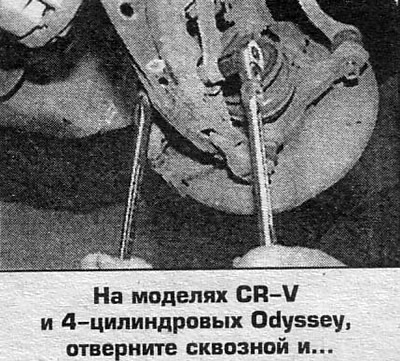
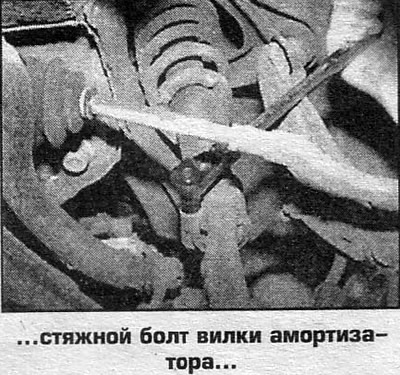
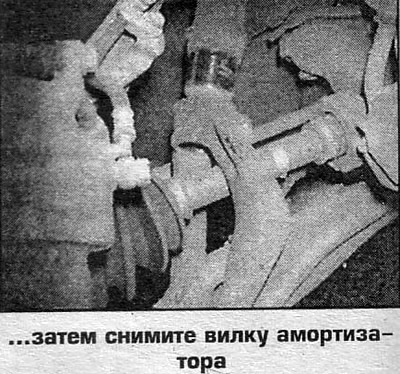
4. Loosen the fork-to-shock absorber clamp bolt, then the fork-to-lower arm bolt and remove the fork.
5. On Odyssey V6 models:
- a. Remove the speed sensor wiring bracket
- b. Remove the brake hose bracket
- c. Remove the upper stabilizer link
- g. Mark the location of the steering knuckle on the strut, unscrew the nuts of the tie bolts securing the strut to the knuckle.
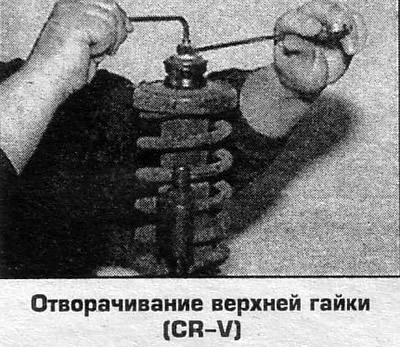
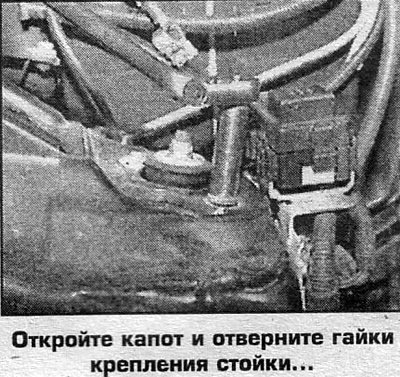
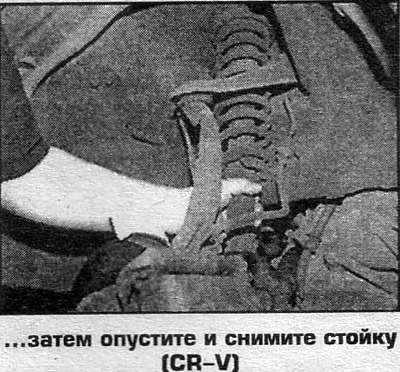
6. Unscrew the nuts securing the rack from the engine compartment side. Remove the rack.
7. Check the condition of the rack fastenings, replace damaged parts.
8. Remove the spring.
Installation
9. Install the rack in place and tighten the upper mounting nuts by hand.
10. On CR-V and 4-cylinder Odyssey vehicles, assembly is performed in reverse order. Finally tighten the fork mounting bolts and top nuts after removing the vehicle from the jack.
11. On Odyssey vehicles:
- a. Tighten the speed sensor wiring bracket bolts to 9.3 Nm.
- b. Tighten the brake hose mounting bolts to 22 Nm.
- c. Install the upper stabilizer link and tighten to 78 Nm.
- d. Align the fist and post marks
- e. Screw the nuts onto the tie bolts securing the strut to the steering knuckle.
12. Place a jack under the lower arm and lift the knuckle so that it supports the weight of the car. Tighten the shock absorber fasteners to the torque (Nm):
- a. Tie bolts for fastening the strut to the steering knuckle 157
- b. Strut mounting nuts 39
12. Check and adjust the front wheel alignment angles.
Disassembly
Only the spring on the rack needs to be changed. If the shock absorber of the strut is out of order, then replace the strut.
 |
 |
 |
 |
 |
 |
[Article source on the website hondabook.ru]