
Attention! The engine should be suspended from above on a winch or A-beam.
2. Turn out bolts of fastening of a driving disk to a cranked shaft.
3. Thoroughly wipe the removed disc with a rag soaked in acetone, completely removing traces of oil and grease from it. Check the working surface of the disc for cracks and other mechanical damage. Minor defects can be eliminated with fine-grained sandpaper. Check the ring gear for cracks and chipped teeth. Lay the disc on a flat surface in order to assess its flatness (use a flatness meter). If necessary, give the assembly to the groove.
4. Wipe mating surfaces of drive plate and crankshaft. If there are signs of oil leakage through the crankshaft rear oil seal, replace it (see Section Replacement of a back epiploon of a cranked shaft).
5. Install the drive disc on the crankshaft.
Attention! Mounting holes are arranged asymmetrically, which guarantees a unique fit of the assembly. Before screwing in the mounting bolts, grease their threaded part with a fixing sealant.
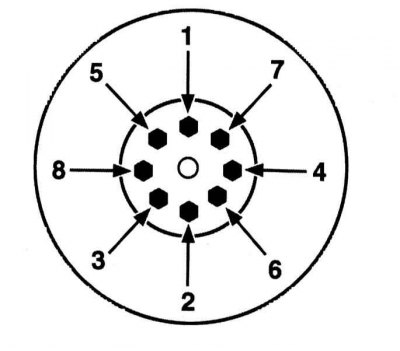
6. Tighten the fixing bolts to the required torque in a strictly defined order.
7. Further installation is carried out in the reverse order to the dismantling of the components.