
2. Clean the main journals and bearings with a clean cloth.
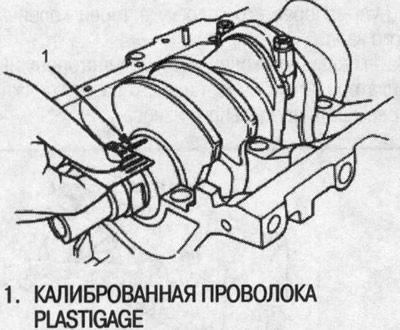
3. Place a piece of calibrated Plastigage wire across the main journals.
Note: If the engine is still in the car when the main bearing cap bolts are tightened to check clearances, the weight of the crankshaft and flywheel will flatten the wire more than just tightening the cap bolts, giving an incorrect reading. To get a reliable reading, support the crankshaft with a jack under the counterweights and check only one bearing at a time.
4. Reinstall the bearings and caps, then tighten the bolts.
- 1st pass: with a force of 25 Nm (2.5 kgf/m)
- Final pass: with a force of 51 Nm (5.2 kgf/m)
Note: Do not rotate the crankshaft during inspection.
5. Remove the cover and bearing again and measure the widest part of the flattened wire.
Oil clearance between main bearing and journal:
| Necks No.1,5 | Necks No.2,3,4: | |
| Standard | 0,018-0,036 | 0,024-0,042 |
| (new) | MM | MM |
| Redistribution | 0.05 mm | |
6. If the wire is too wide or too narrow (remove the engine from the car if it is still on it), remove the crankshaft and upper bearing shell. Install a new bearing assembly with the same color code (match the color as below) and recheck the clearance.
7. If the wire clearance is still incorrect, take the next larger or smaller size bearing (color coded before or after the one you selected) and recheck the clearance again.
Note: If the required clearance cannot be achieved by substituting the next larger or smaller bearing size, replace the crankshaft and start the procedure over.
[Article source on the website: HondaBook.ru]