
Examination
1. There are three pairs of transmission control solenoid valves to test: Lock/Shift Control Valve A, Shift Control Valves B and C, and Clutch Pressure Control Valves.
Lock/Switch Control Solenoid A
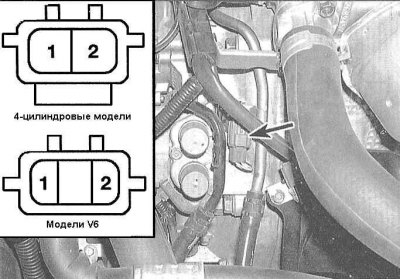
2. Disconnect the 2-pin electrical connector of the lock/shift control solenoid assembly A and measure the resistance between each of the connector terminals (valve side) and mass. Compare the measurement results with the requirements of the Specifications. Replace the valve assembly if necessary.
3. Using a jumper wire, connect each of the connector terminals in turn to the positive pole of the battery - a clearly audible click should be heard, accompanying the operation of each of the valves. If a click is not heard, the vehicle should be taken to a workshop for a full diagnosis of the ECM and solenoid valve circuits.
Shift control solenoid valves B and C
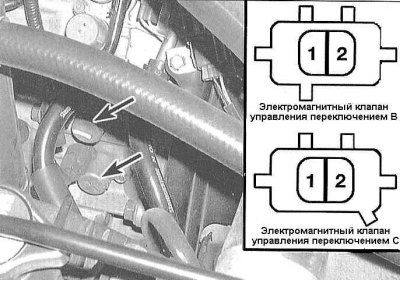
4. Disconnect the 2-pin electrical connectors for the shift control solenoid valves and measure the resistance between terminals 1 and 2 of each. Compare the measurement results with the requirements of the Specifications. If necessary, replace the defective valve assembly.
5. Using a jumper wire, alternately connect terminal 2 of the connector of each of the valves to the positive pole of the battery - terminal 1 should be grounded. A distinctly audible click should be heard, accompanying the operation of each of the valves. If no click is heard, the defective valve must be replaced.
Clutch control solenoid valves
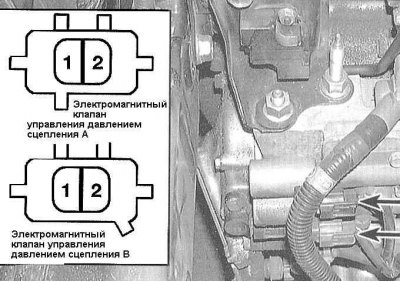
6. Disconnect the clutch pressure control valve connectors and measure the resistance between terminals 1 and 2 of each connector. Compare measurement results with spice requirements. If necessary, replace the defective valve.
7. Using a jumper wire, alternately connect terminal 1 of each of the valves to the positive pole of the battery - terminal 2 should be grounded. A distinctly audible click should be heard, accompanying the operation of each of the valves. If no click is heard, the defective valve must be replaced.
Replacement
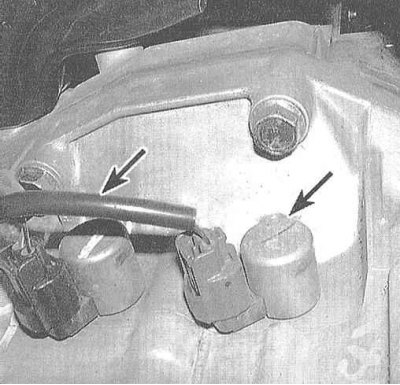
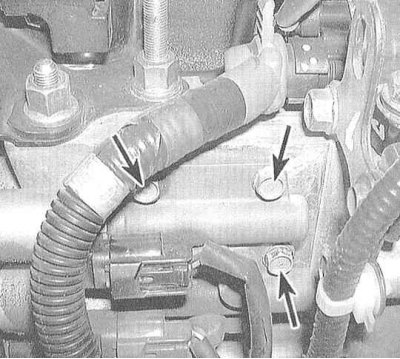
Note. Replace only one of the solenoid valves (A and clutch pressure control) individually is not possible - they must be replaced as an assembly, while valves B and C can be replaced individually.
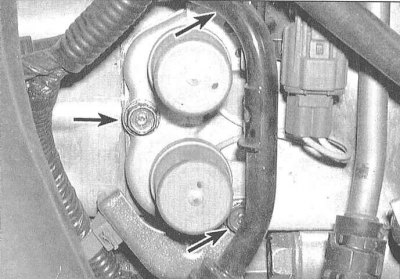
1. Turn out fixing bolts and remove valvate assembly.
 |  |
2. Thoroughly wipe mating surfaces and clean oil passages.
3. Replace the gasket/ring and install the new valve assembly in its original location. Tighten the fixing bolts to the required torque.
4. Check the electrical connector for signs of contamination and oxidation of the contact terminals, if necessary, clean and reconnect.
5. Check up serviceability of functioning of electromagnetic valves of management.