
Removal
1. Securely block the front wheels. Raise and support the rear of the vehicle on jack stands. Remove the rear wheels. Make sure the parking brake is released.
2. Remove the bearing cap, cotter pin and castle nut.
3. Remove the rear brake drum. If the drum is difficult to remove, use a special tool for removing brake drums or tap it several times with a rubber mallet. Remove the drum straight, without distorting it.
To install:
4. Make sure the brake shoes are adjusted so that there is clearance with the drum when installed. Place the drum in place.
5. Install the outer bearing, washer and castle nut. Tighten the nut by hand.
6. Tighten the hub nut to 25 Nm. Turn the drum by hand several times, then loosen the nut to exactly 0 Nm.
7. Tighten the nut to 5 Nm.
8. If the spindle nut is not flush with the hole in the spindle, tighten the nut just enough to align it.
9. Insert the cotter pin retainer and new cotter pin.
Inspection
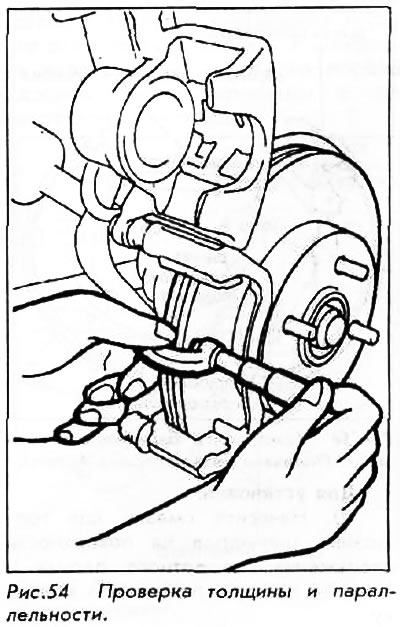
Check the drum for cracks and the inside surface of the shoe for excessive wear and damage. The inside diameter of the drum should be no more than 1 mm from the standard specification. In addition, the deviation from the circle for the drum should be no more than 0.10 mm.
(Refer to the original source on the website: hondabook)