
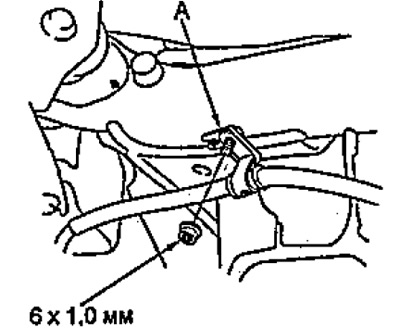
2. Loosen the nut and remove the parking brake cable bracket (A).
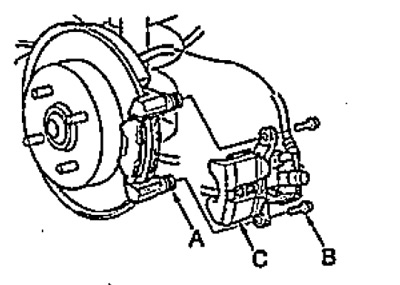
3. While holding the guide pin (A) with a wrench, loosen the bolts (B) and remove the brake caliper (C).
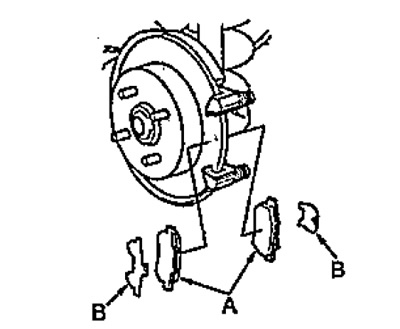
4. Remove the brake pads (A) and linings (B).
5. Remove the retaining plate inserts (A).
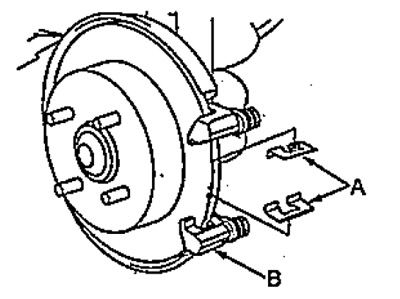
6. Clean the caliper bracket (B) from dirt and foreign objects.
7. Install the retaining plate inserts.
8. Apply special brake lubricant to the surfaces of the pads and linings as shown in the figure.
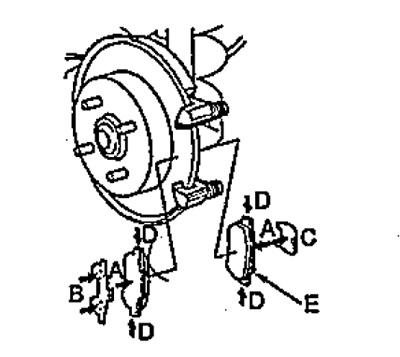
9. Install new brake pads and linings.
Note: The brake pad wear indicator on the inner pad should be at the bottom.
10. Press the piston into the caliper cylinder.
11. Apply grease to the surface of the piston that contacts the brake pad.
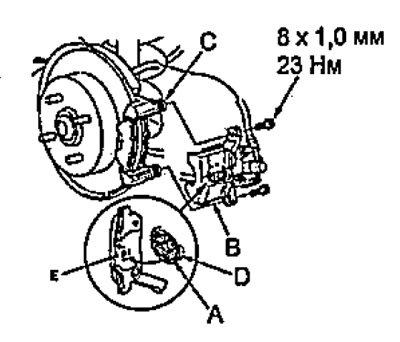
12. Install the brake caliper (B). Hold the guide pin (C) with a wrench and tighten the bolts.
- Tightening torque - 23 Nm
Note: When installing, make sure that the protrusion (E) on the brake shoe matches the recess (D) in the piston.
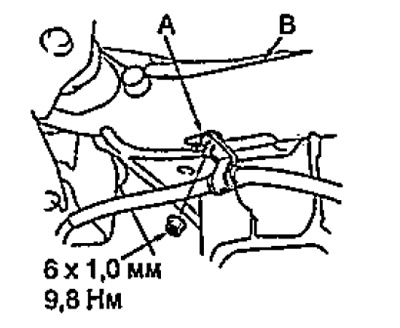
13. Install the parking brake cable bracket (A) to the rear suspension beam (B) and tighten the nut.
- Tightening torque - 9.8 Nm
14. Press the brake pedal several times to force the piston against the brake pad.
15. Check the brake fluid level in the reservoir and top up if necessary.
16. Check that there are no brake fluid leaks and that the brake hoses do not rub against other parts.
[Information obtained from this source: Hondabook.ru]