
Contents: Installation ⇊ Examination ⇊
Installation
Note: Install the piston pins using the special tool kit (P/N 07PAF-0010000) and a hydraulic press. Use the guide bushing with the required number.
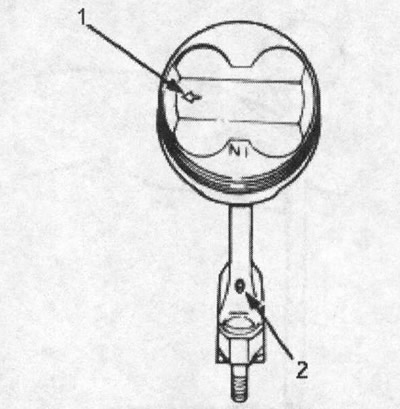
1. The arrow should point towards the engine timing belt, and the oil hole in the connecting rod should point towards the rear of the engine.
2. Oil hole in the connecting rod
1. Install the piston pin as shown in the figure.
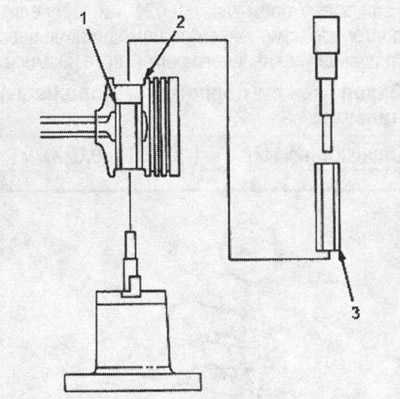
1. Guide bushing, outer diameter 19 mm, 07PAF-010650
2. With the convex mark facing up.
3. Piston pin
Note: Install the piston and connecting rod assembly with the oil hole facing the intake manifold.
Examination
1. Measure the piston pin diameter.
Piston pin diameter:
- Standard (new): 18,994-19,000 mm
- Increased repair size: 18.997-19.003 mm
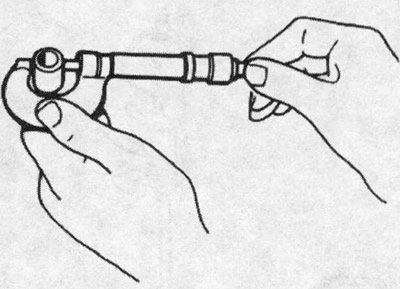
Note: All replacement piston pins are oversized.
2. Set the indicator to zero according to the piston pin diameter.
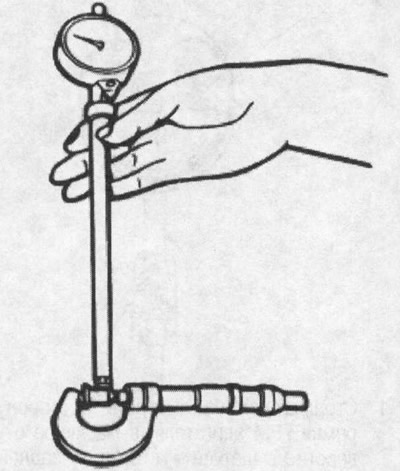
3. Measure the clearance between the piston and the piston pin.
Note: Check the piston for deformation or cracks.
If the clearance exceeds 0.024 mm, re-measure using an oversized piston pin.
Clearance between piston and piston pin:
- Standard (new): 0.010-0.022 mm
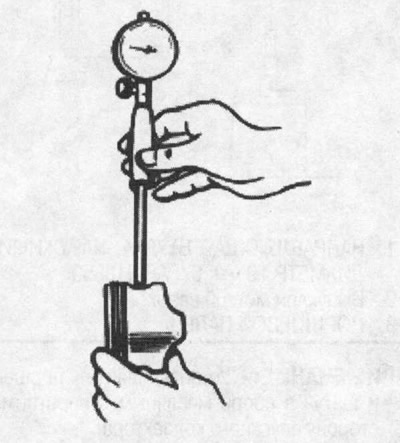
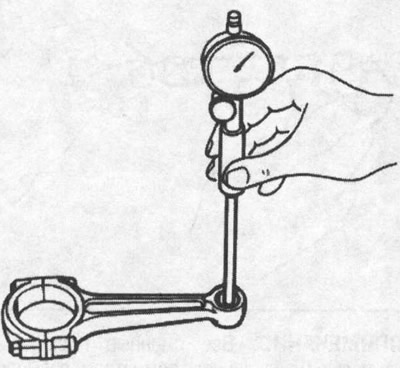
4. Check the difference between the piston pin diameter and the connecting rod small end diameter.
Fitting tightness between piston pin and connecting rod:
- Standard (new): 0.014-0.040 mm
(The text was taken from the website: «HondaBook.ru»)