
WARNING
- The electrolyte contains sulfuric acid. If it comes into contact with the skin or eyes, it can cause severe burns. Wear protective clothing and glasses.
- - If electrolyte comes into contact with your skin or clothing, wash it off immediately with water.
- - If electrolyte gets into your eyes, rinse them with running water for at least 15 minutes; seek medical attention immediately.
- The battery produces hydrogen gas. If ignited, the hydrogen gas can explode, crack the battery case and spray you with acid. Do not create sparks, open flames or smoke near the battery.
- Overcharging will cause the electrolyte to become hot, which could cause it to spray out of the vents. Charge the battery according to the manufacturer's instructions.
Note:
- To obtain reliable results, the electrolyte temperature must be between 21 and 38'C before testing.
- After reconnecting the battery, the ECM module memory must be reset.
Equipment required for testing:
- Battery tester including:
- Voltmeter with a measurement range of 0-18 V, ammeter with measurement ranges of 0-100 A and 0-500 A and carbon rheostat with a power of 0-300 W.
- 12V Battery Charger:
- Recharging with a high current of 50 A and with a low current of 5 A.
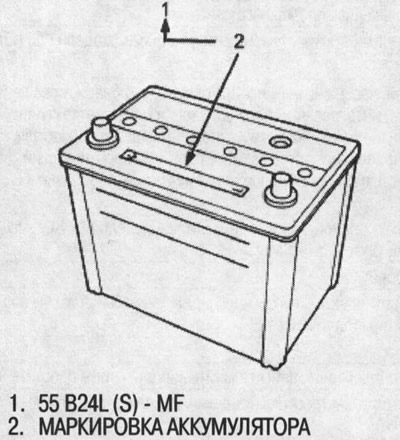
Testing procedure
1. Check for damage. If the case is cracked or the terminals are loose, replace the battery.
2. Check the indicator (charge status): Blue or green - normal. If the indicator is red, peel back the film, unscrew the plugs and add distilled water; then screw the caps and lower the film. If the indicator is transparent, go to step 3.
3. Check the battery capacity by connecting a tester and applying a load three times the rated capacity in ampere-hours.
When a load is applied for exactly 15 seconds, the battery voltage reading should be greater than 9.6 V.
- If the reading is above 9.6 V, the battery is OK. Clean the terminals and case and reinstall.
- If the reading is between 6.5 and 9.6 V, connect the charger and charge the battery for 3 minutes with an initial current of 40 A.
Warning! Current will decrease as voltage increases; do not increase the current to compensate, otherwise the battery may be damaged.
- Monitor the battery voltage for the entire three minutes; the maximum reading should be below 15.5 V.
- If the reading is below 15.5 V, the battery is OK. Clean the terminals and case and reinstall.
- If the reading is more than 15.5 V when charging at high current for three minutes, the battery is not OK, replace it.
- If the reading drops below 6.5 V, charge the battery at a low current by connecting the battery and charging at 5 A for no more than 24 hours (or until the indicator shows full charge or the specific gravity of the electrolyte is at least 1.270). Then check the capacity again.
- If the reading is above 9.6 V, the battery is OK. Clean the terminals and case and reinstall.
- If the voltage still drops below 6.5 V, the battery is not OK; replace it.
[Information obtained from this source: hondabook]