
Trunk lid release cable
1. The procedures for removing the luggage compartment lid latch and disconnecting the drive cable from it are described in Section Removal and installation the latch and cylinder of the trunk lid lock.
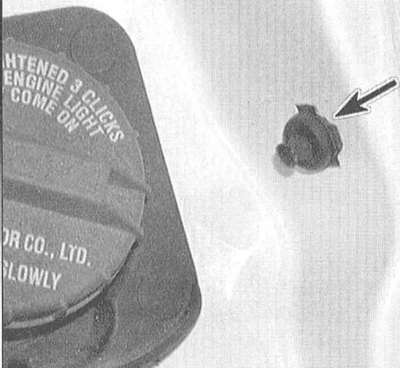
2. From inside the trunk, remove the spare tire, then remove the left side trim panel with storage pocket to gain access to the fuel filler flap release cable end. Twist the cable end 1/4 turn to remove it from the door assembly.
3. Remove the lower part of the rear seat (see Section Removal and installation seats). On Coupe models, also remove the rear seat back.
4. Pry off the door sill trims on the driver's side of the vehicle (Coupe models have one door). On 4-cylinder models, remove the lower left B-pillar trim panel.
5. Fold back the carpet to expose the lock release cable. Release all intermediate cable routing clamps.
6. Pry open the top cover of the lock cylinder in the remote release lever housing near the driver's seat. Insert the key into the lock and turn it sharply counterclockwise, then remove the key and cylinder from the assembly.
7. On the side of the remote release lever, remove the small plastic cover and loosen the bolt underneath (use a socket wrench and insert the head through the hole for installing the lock cylinder. Slide the lever cover back to remove it from the bolt.
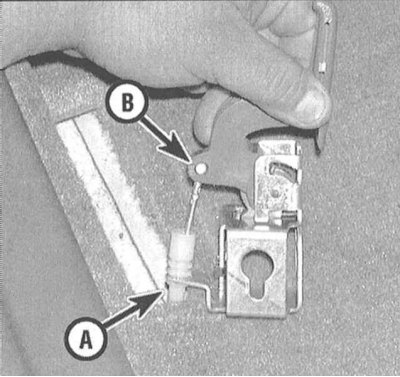
8. Turn the housing over and remove the cable sheath from the retainer and the core tip from the lever.
9. Tie a piece of string to the end of the rope.
10. Pull the cable assembly into the luggage compartment until the string tied to its end is visible.
11. Tie the string to the end of the new cable and pull the assembly into its normal position, connecting it to the lever. Further assembly is carried out in the reverse order of dismantling the corresponding components.
(The article was copied from the website: «HondaBook.ru»)