
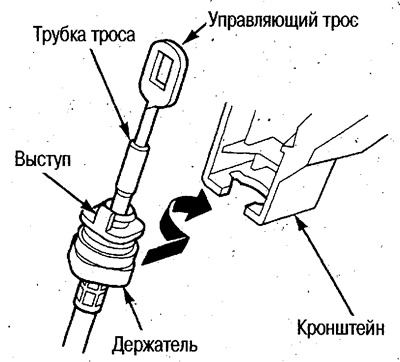
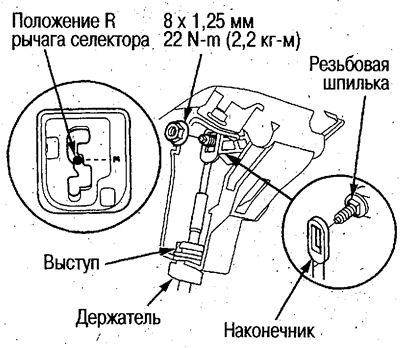
2. Turn the holder 90° counterclockwise, insert into the bracket, turn 90° clockwise and secure the holder.
Install the cable by holding the holder, not the tube.
Before turning the cable clockwise, the holder's protrusion should be positioned on the opposite side from the bracket. After installation, the protrusion should be directed towards the front of the vehicle.
3. Set the automatic transmission to position R as follows: press the control cable down until it stops, then pull it up one position and release it.
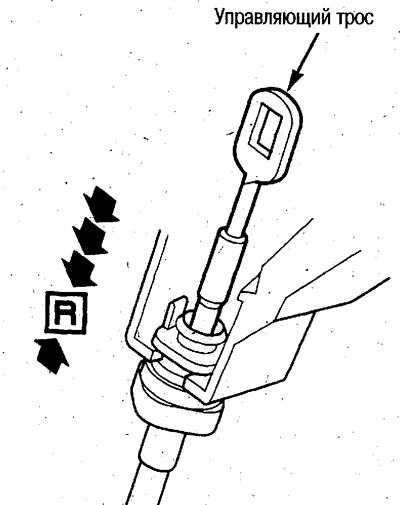
4. Turn the ignition key to the ON (II) position and check that the R indicator lights up.
5. Turn the ignition key to the OFF position.
6. Set the selector lever to position R.
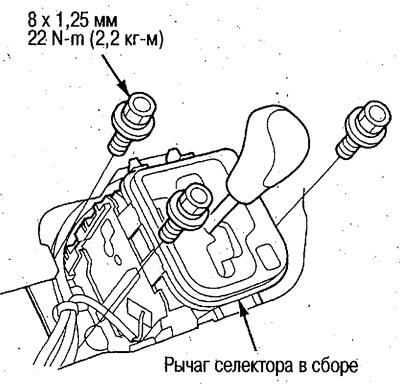
7. Secure the lever in this position using a 6mm diameter dowel pin through the holes.
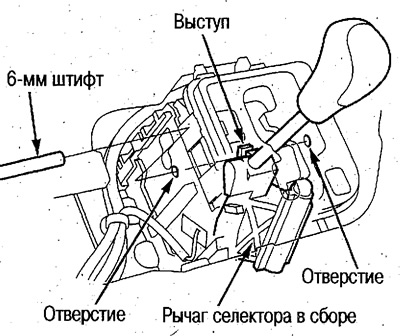
8. Place the cable end with the square hole onto the corresponding section of the threaded stud, secure the cable and tighten the nut.
9. Remove the locating pin.
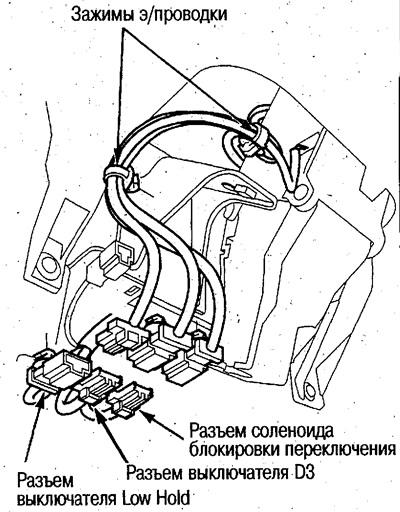
10. Connect the connectors of the D3 and Low Hold switches, as well as the shift lock solenoid, install the wiring clamps.
11. Install the audio system panel and the lower panel of the front console, see chapter Body.
Information obtained from this source: www.HondaBook.ru