
Checking the working fluid level
1. Place the vehicle on a flat, horizontal surface.
2. Start the engine and wait until it warms up (the engine cooling fan should turn on 2 times), then turn off the engine.
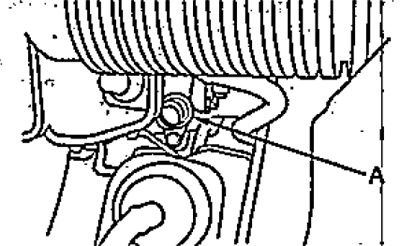
3. Remove the dipstick (A) of the working fluid level and wipe it with a rag. Install the dipstick in place.
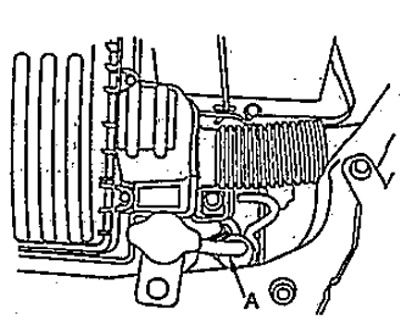
4. Remove the dipstick and check the working fluid level.
Note:
- The working fluid level should be checked no earlier than 60 - 90 seconds after the engine has stopped.
- When the working fluid is warm, its level should be between the marks "A" (HOT) and "C" (minimum permissible working fluid level), when not warmed up - between the marks "B" (COLD) and "C".
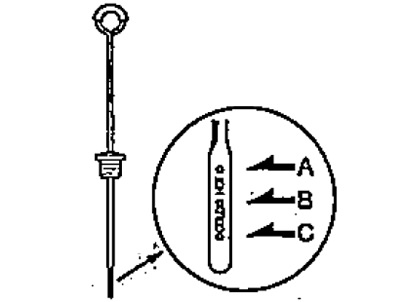
5. If necessary, add working fluid to the upper level through the tube (A) of the dipstick.
- Working fluid — Honda ATF-Z1
Replacement
1. Place the vehicle on a flat, horizontal surface.
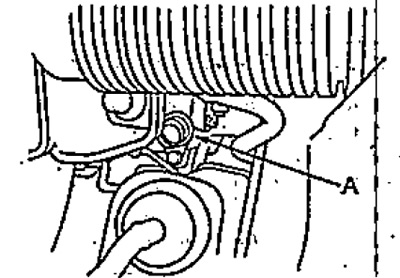
2. Unscrew the drain plug (A) and remove the gasket (B). Drain the working fluid.
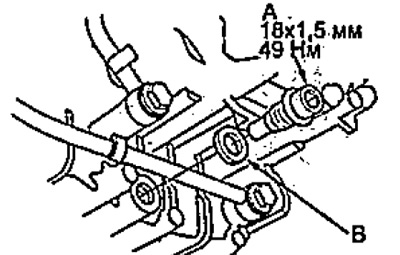
3. Install a new gasket and tighten the drain plug.
- Tightening torque - 49 Nm
4. Remove the dipstick and fill the working fluid through the dipstick tube.
Working fluid — Honda ATF-Z1
Filling capacity:
2WD models:
- replacement - 3.2 l
- full volume - 5.4 l
4WD models:
- replacement - 3.3 l
- full volume - 6.1 l
5. Check the working fluid level and install the dipstick in place.