
Removal and installation
1. Jack up the rear of the car and place it on stands
2. Loosen the nuts and remove the wheel.
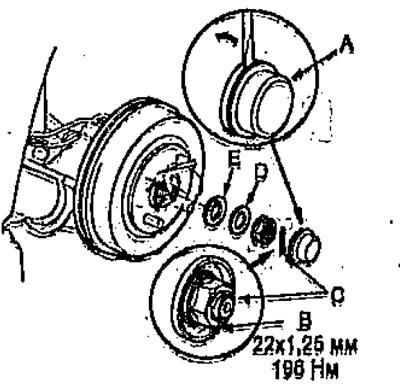
3. Remove the cap (A), cotter pin (C) and unscrew the nut (B).
4. Remove washers (D) and (E).
Note: When assembling, secure the nut with a cotter pin as shown in the figure.
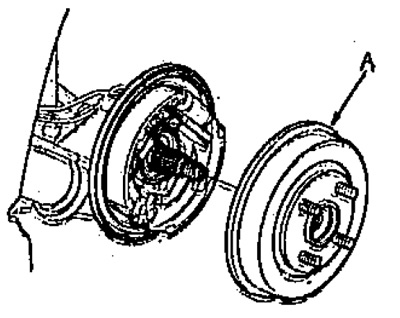
5. Remove the brake drum (A).
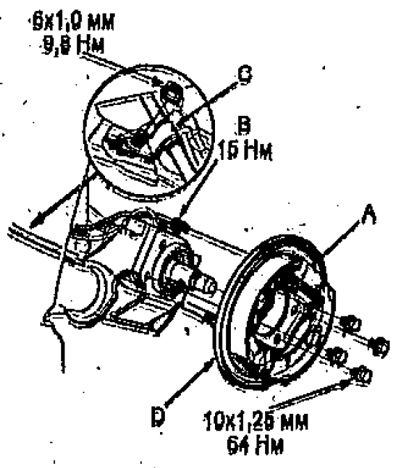
6. Disconnect the pipe (B) of the brake wheel cylinder (A).
7. Loosen the nut and remove the brake pipe bracket (C).
8. Remove the brake shield (D) from the rear suspension beam.
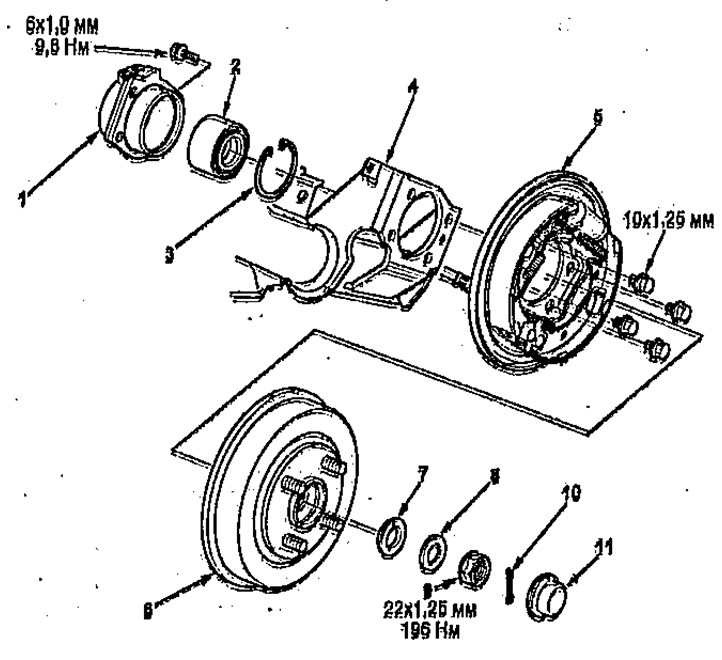
Removal and installation the rear wheel hub (4WD models)
1 - bearing housing,
2 - bearing,
3 - retaining ring,
4 - rear suspension beam,
5 - brake shield,
6 - brake drum,
7 - brake drum washer,
8 - hub washer,
9 - nut,
10 - cotter pin,
11 - cap.
9. Jack up the rear axle (A) and lower it relative to the body (see chapter "Rear axle").
Note: Remove the drive shaft from the rear suspension beams.
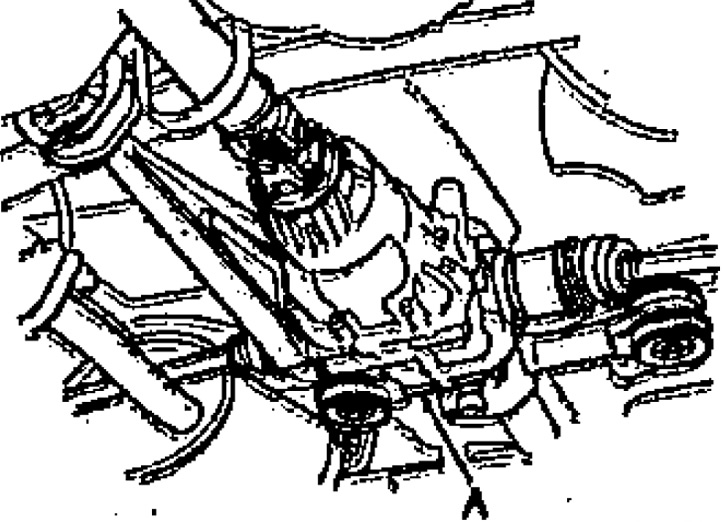
11. Remove the bearing housing from the rear suspension beams.
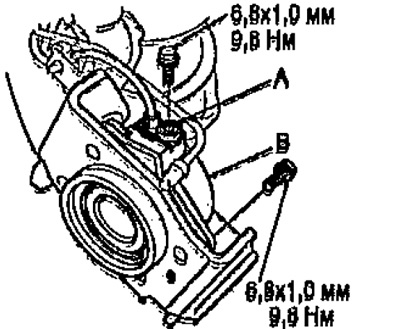
12. Installation is carried out in the reverse order of removal.
Note: When installing:
- use new nuts and cap;
- check and adjust rear wheel alignment if necessary;
- check and, if necessary, adjust the travel of the parking brake lever.
[The original is located on the website hondabook.ru]