
Warning: Make sure lifts, jacks and safety stands are properly installed (see chapter 1).
1. Remove the front console (see chap. "Body").
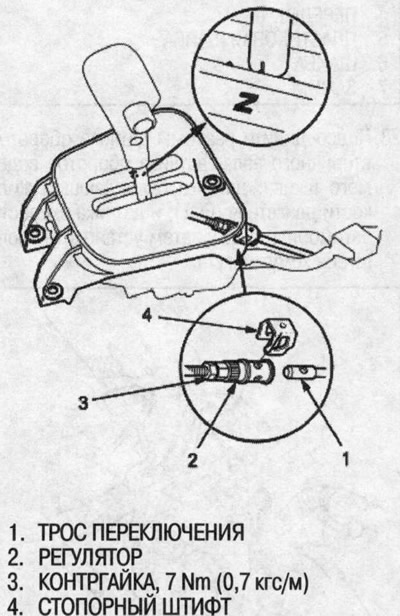
2. Shift to N position, then remove the locking pin from the adjuster.
Note: The picture shows a left-hand drive model; the layout on the right-hand drive model is similar.
3. Remove the clip from the shift cable end, then separate the cable end from the control lever.
4. Remove the shift cable bracket together with the cable. Do not kink the shift cable.
5. Loosen the lock nut, then remove the shift cable from the bracket.
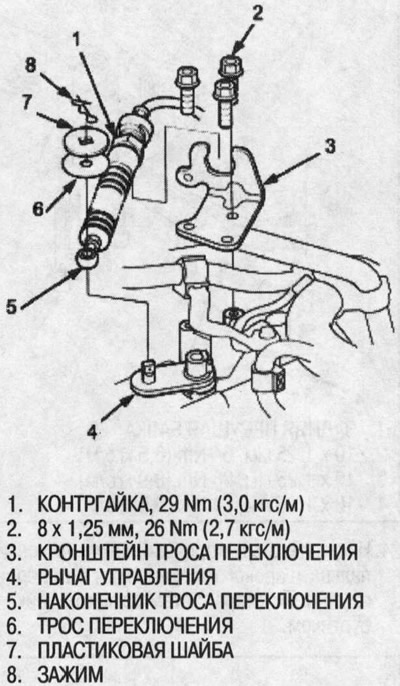
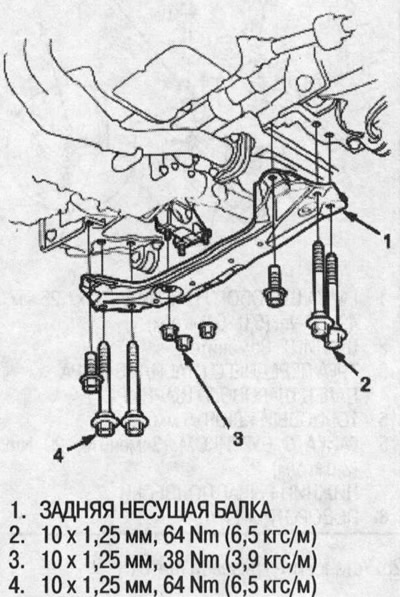
6. Remove the rear support beam.
7. Remove the bolts securing the shift cable brackets.
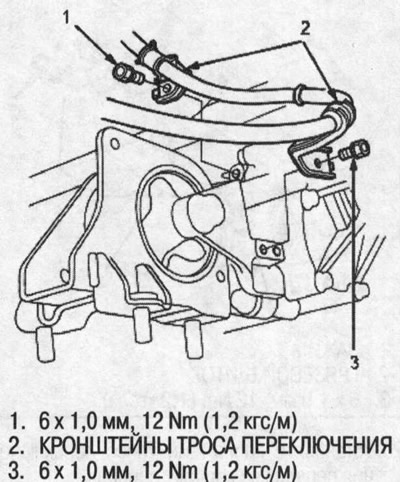
8. Remove the shift cable bracket.
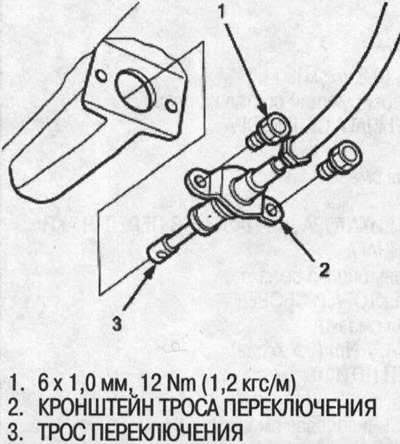
9. Replace the shift cable, then install a new one in the reverse order of removal. Do not kink the shift cable.
10. Check the shift cable adjustment (see above).
The text of the article is available on the website www.hondabook.ru