
Note:
- Installation is carried out in the reverse order of removal.
- Replace all O-rings with new ones before installation.
- Never mix or reuse used compressor oil as this may result in contamination of the system.
- Never allow refrigerant to come into contact with any vehicle parts as this may damage them,
- If refrigerant gets on vehicle parts, it must be removed immediately and the area dried.
- After installation, charge the system with refrigerant and check for leaks.
1. If the compressor is working, turn on the engine and let it idle. Turn on the air conditioner and let it run for a few minutes, then turn off the air conditioner and ignition.
2. Make sure you know the security codes for your audio system and save the settings.
3. Disconnect the negative terminal of the battery.
4. Connect the refrigerant charging station and remove the refrigerant from the system.
5. Remove the splash guard.
6. Remove the accessory drive belt.
7. Unscrew the two bolts and disconnect the compressor hoses. Remove the sealing rings. Immediately after disconnecting, close the ends of the tubes to prevent contamination.
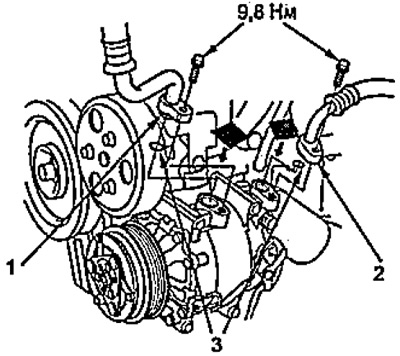
Removal the air conditioning compressor.
1 - inlet hose,
2 - outlet hose,
3 - sealing ring.
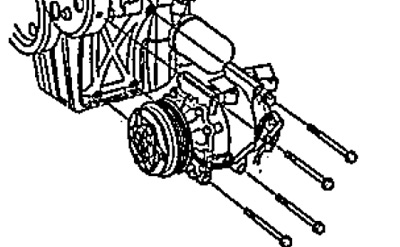
8. Unscrew the four bolts and remove the compressor.
- Tightening torque - 22 Nm
Full version on the source website HondaBook.ru