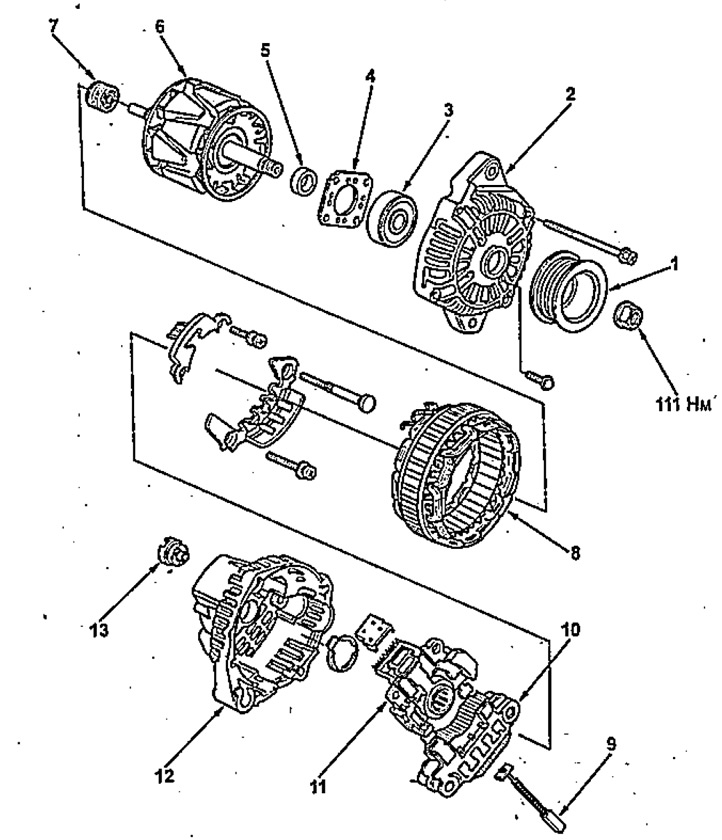
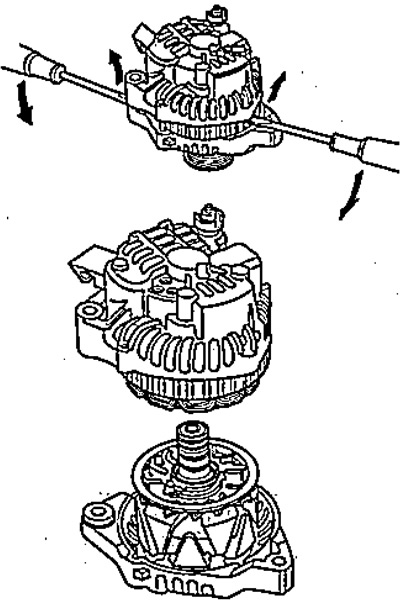
Disassembly and assembly of the generator.
1 - pulley,
2 - front cover,
3 - front bearing,
4 - bearing holder,
5 - spacer,
6 - rotor,
7 - rear bearing,
8 - stator,
9 - brush,
10 - rectifier block,
11 - voltage regulator,
12 - back cover,
13 - output insulator.
Disassembly
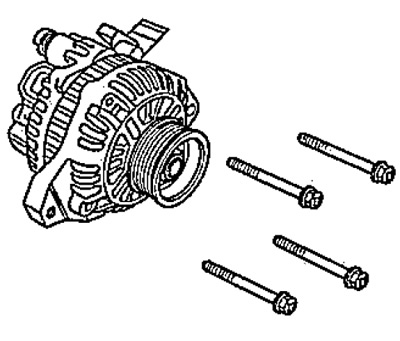
1. Loosen the four pinch bolts.
2. Heat the rear bearing seat with a hair dryer for 5 minutes to 50-60°C.
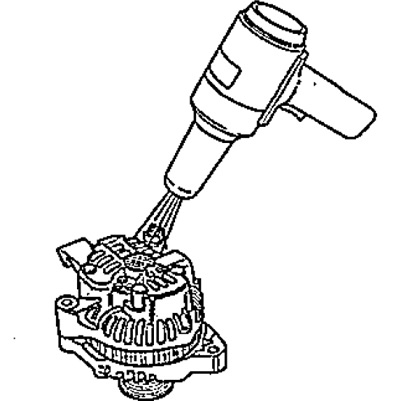
Attention: do not overheat the lid!
Note: Only heat the rear bearing cap.
3. Remove the back cover from the front cover using two screwdrivers.
Note: Do not damage the stator winding with a screwdriver when removing.
4. Solder the leads of the rectifier block and use a screwdriver to disconnect the stator wires from the leads of the rectifier block, remove the stator.
Note:
- Use a 100W soldering iron.
- To avoid destroying the diode from overheating, work as quickly as possible.
5. Unscrew the bolts of the voltage regulator and, after soldering the contacts of the rectifier unit, disconnect the regulator.
6. Turn out a nut and the screw, remove the rectifier block.
7. Wrap the rotor with a rag and place the front cover in a vise, unscrew the nut and remove the pulley.
Assembly
1. Install the rectifier unit on the rear cover.
2. Install the regulator, solder the leads.
Note: Use a 100W soldering iron.
3. Install the stator, place the wire leads, solder the stator into the leads of the rectifier blocks.
Note:
- Use a 100W soldering iron.
- To avoid destroying the diode from overheating, work as quickly as possible.
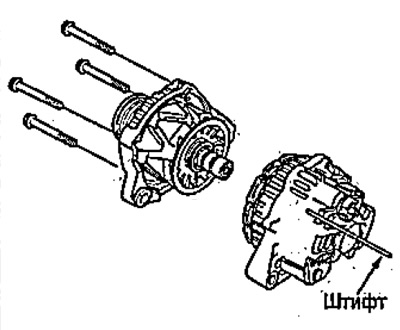
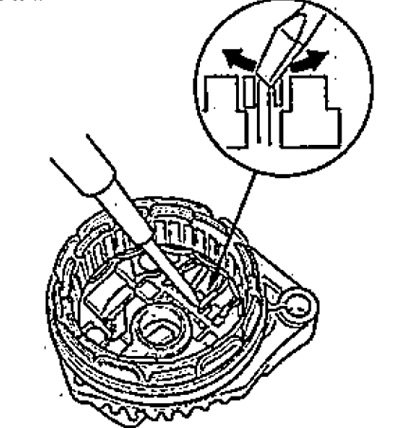
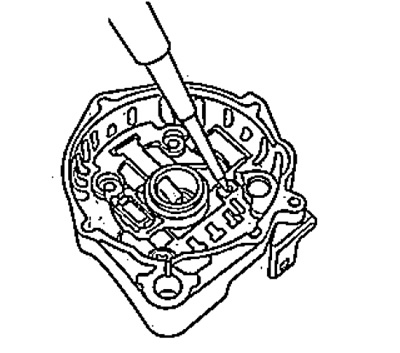
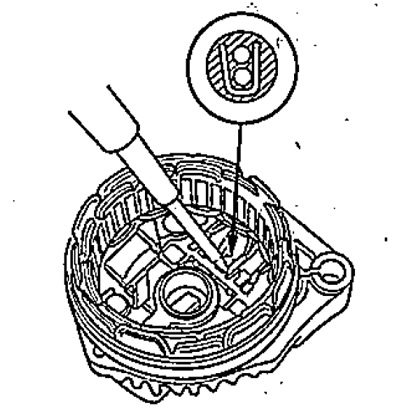
4. Push the brushes in and install the pin to secure them.
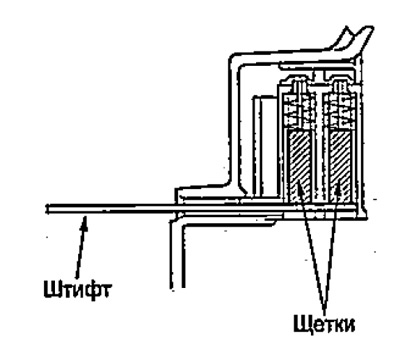
Note: The diameter of the pin used is approx. 1.8 mm.
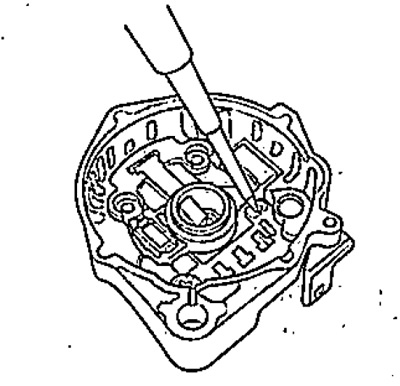
5. Connect the rear and front covers of the generator.
6. Remove the pin after connecting the caps. Make sure the rotor shaft rotates freely and without abnormal noise.