Note: Assembly is carried out in the reverse order of disassembly, taking into account the following:
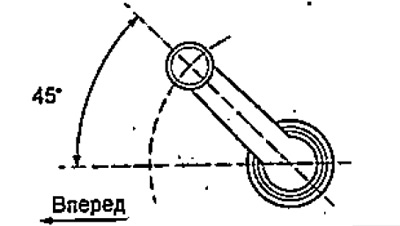
(Right hand drive models without power windows) Install the power window control knob as shown in the illustration.
Door trim panel
1. Fully lower the window.
2. (Right hand drive models without power windows)
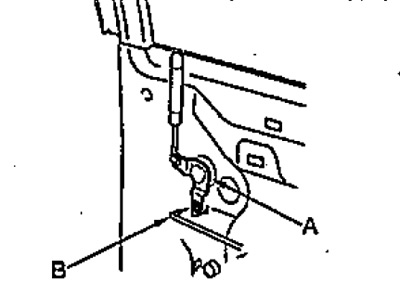
Disconnect the rod (IN) from the loop (WITH) and remove the handle (A) window lift control.
3. Remove the internal door handle.
A) Loosen the screw (IN).
b) Pull inside handle (A) towards you and disconnect the clamps (WITH).
V) Disconnect the inner link (D) opening the door from the handle.

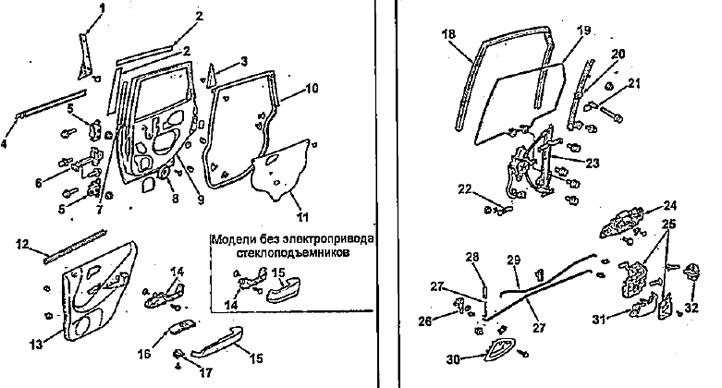
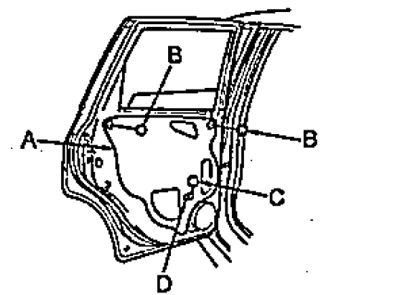
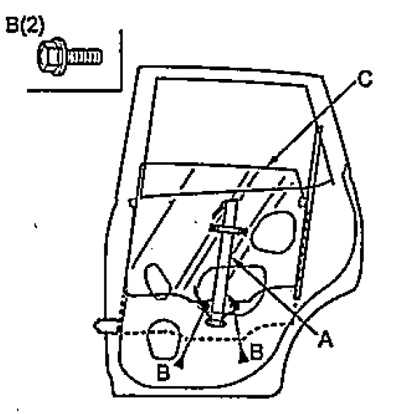
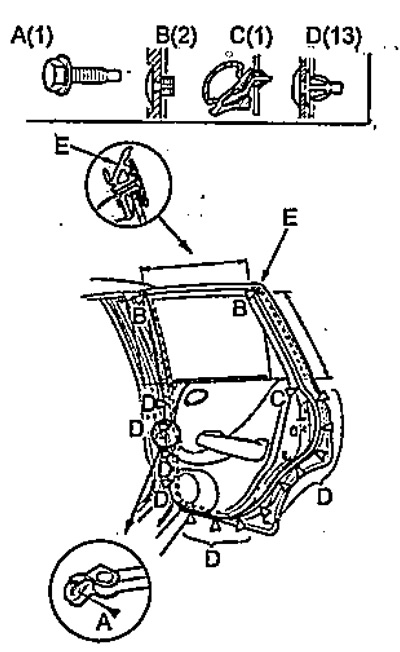
Disassembly and assembly of the rear side door.
1 - exterior door trim,
2 - door glass finishing panel,
3 - corner interior door trim,
4 - door molding,
5 - door hinge,
6 - door opening limiter,
7 - central door seal,
8 - speaker (models with speaker),
9 - rear side door,
10 - door seal,
11 - technological hole cover,
12 - lower door glass seal,
13 - finishing panel of the door,
14 - armrest bracket,
15 - armrest,
16 - finishing of the power window control panel,
17 - power window control panel,
18 - upper door glass seal,
19 - door glass,
20 - door glass guide,
21 - bushing,
22 - power window control knob (RHD models without power windows),
23 - power window mechanism,
24 - external door handle,
25 - door lock,
26 - holder,
27 - internal locking rod of the lock,
28 - latch,
29 - internal door opening rod,
30 - inner door handle,
31 - power drive of the door lock (except for models with right hand drive without power drive of the door lock),
32 - door lock bracket.
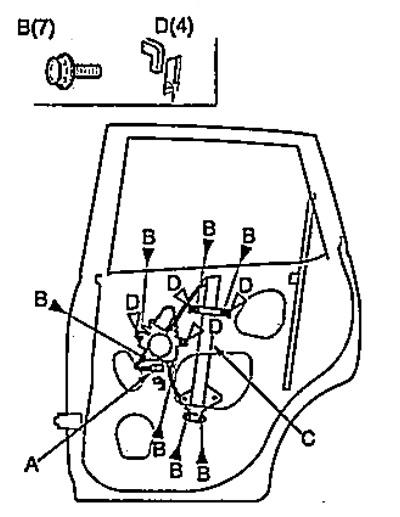
4. Remove the armrest.
A) Disconnect the clips using a screwdriver (IN).
Note: Wrap the screwdriver with protective tape before use.
b) Disconnect clamps (D and E) from the power window control panel (WITH).
V) Disconnect clamps (F and G).
G) Detach clamp (H), pull the armrest (A) towards you and remove it.
5. Remove the armrest bracket.
A) Disconnect connector (A).
b) Loosen the screws (WITH) and remove the armrest bracket (IN).
6.Pull up corner interior trim (IN) rear side door glass, disconnect the clip (A). Remove the corner interior trim.
7. Remove the finishing panel of a door.
A) Detach the clips (IN).
b) Pull out the traction (WITH) door lock through a hole in the trim panel (A) doors.
V) Pull the trim panel up and carefully remove it.
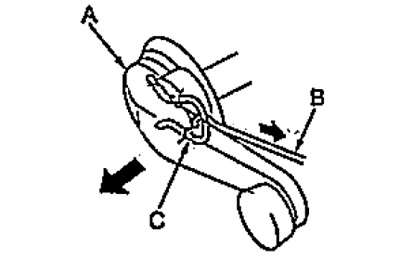
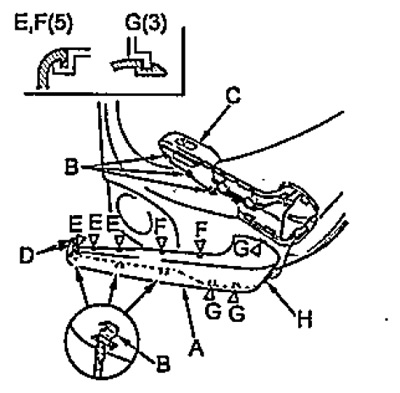
External door handle
1. Raise the glass all the way.
2. Remove the finishing panel of a door.
3. Remove the service port cover.
A) Remove plugs (IN).
b) Pull out the wiring harness (WITH) through the holes in the cover of the technological hole (A) and remove the cover.
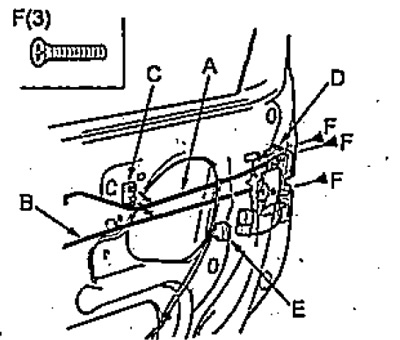
4. Disconnect the inner link (A) door opening and internal locking rod (IN) castle (D) from holder (WITH).
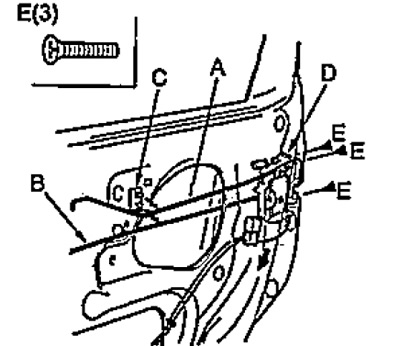
5. Loosen the screws (E) and lower the lock down as shown in the picture.
- Tightening torque - 5 Nm
6. Turn away bolts (IN) external handle attachment (A).
- Tightening torque - 9.8 Nm
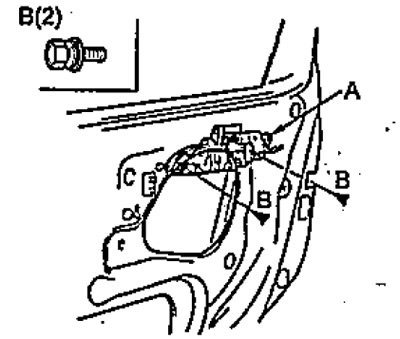
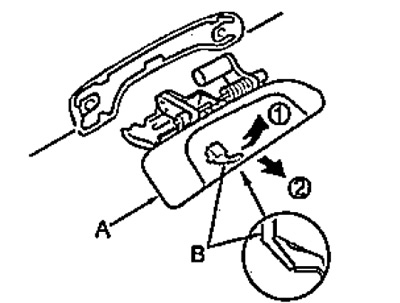
7. Detach the clip (IN), then remove the outer handle (A) in the sequence shown in the figure.
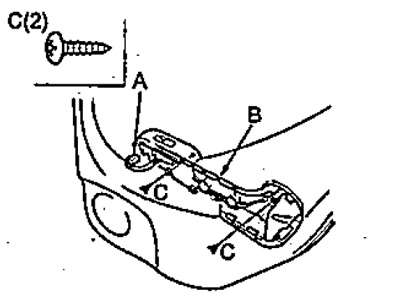
Door lock
1. Raise the glass all the way.
2. Remove the front door trim panel, service port cover, and door glass guide.
3. Disconnect the rod (IN) from holder (A), as it shown on the picture.
4. Disconnect the inner link (A) door opening and internal locking rod (IN) castle (D) from holder (WITH), Disconnect the connector (E) door lock actuator.
5. Loosen the screws (F) and remove the door lock.
6. Disconnect the rods (B and C) from the castle (A) doors as shown.
7. Detach the lock (A) door from guide (IN) door glass as shown in the illustration and carefully pull it out through the access hole.
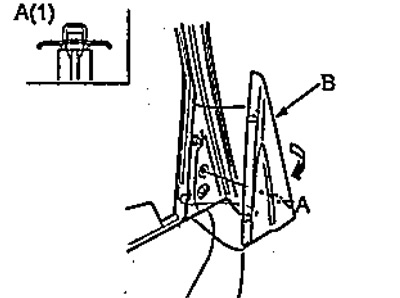
Power window mechanism
1. Remove the front door trim panel, service port cover, and corner outer glass trim.
2. Raise the glass (WITH) doors so that the bolts are visible (IN) glass fasteners. Loosen the bolts and remove the power window mechanism (A). Carefully lower the glass to its lowest position.
- Tightening torque - 9.8 Nm
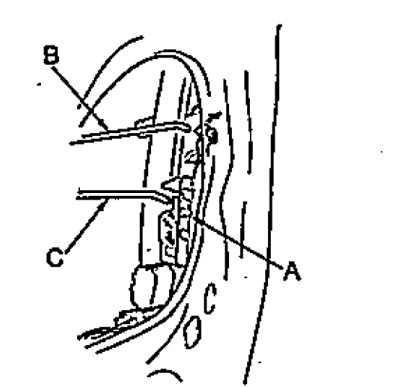
3. Bend the edge of the top seal (A) door glass. loosen the nut (IN), unscrew the bolts (D and E) and remove the bushing (F).
- Tightening torque - 8 Nm
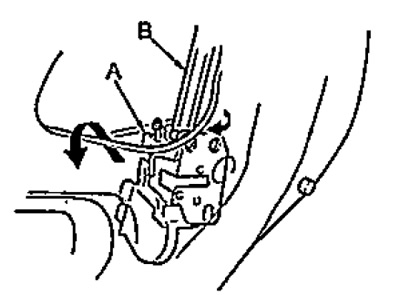
4. Pull the guide (A) glass (IN) doors forward, then unscrew the nut (WITH) and detach the guide as shown in the pictures.
 |  |
5. Gently pull out the glass (A).
6. Disconnect the connector (A).
7. Turn away bolts (IN) and disconnect the clamps (D). Then pull out the power window mechanism (WITH) through the technological hole.
- Tightening torque - 8 Nm
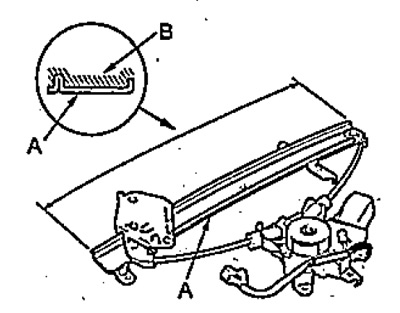
8. Apply lubricant (IN) on the power window mechanism (A), as it shown on the picture.
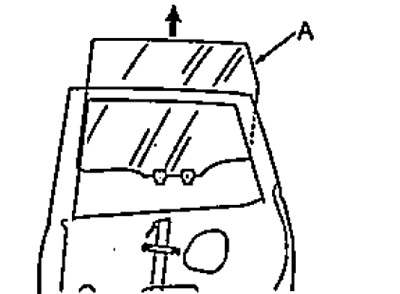
Exterior door trim
1. Fully lower the window.
2. Remove the corner interior trim of the door.
3. Remove the screw from the inside of the door (A), pull the outer trim (IN), as shown in the figure, and then remove the clips (WITH).
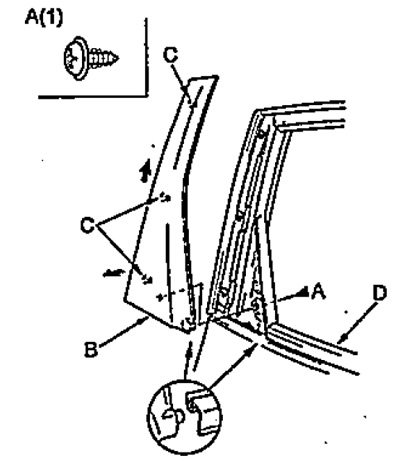
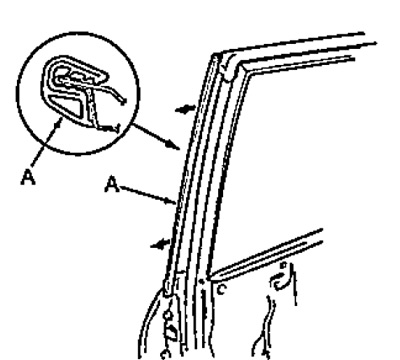
Door glass molding
1. Remove the outer trim of the door.
2. Disconnect the retainer and partially detach the molding (A) from the door in the sequence shown in the figure.
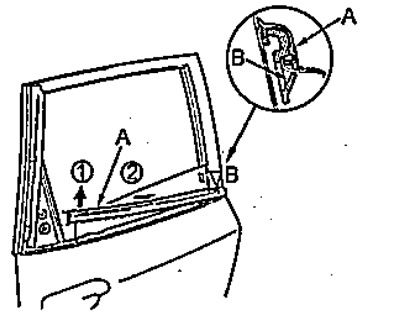
3. Detach the clip (IN) and remove the molding (A) door glass.
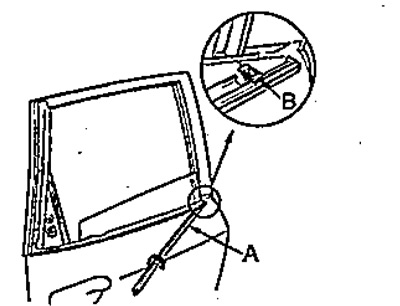
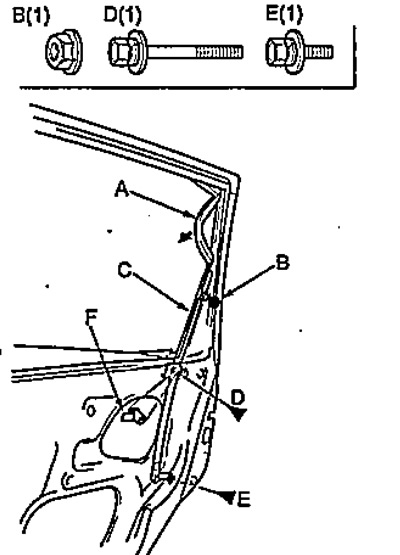
Door seal
1. Remove the bolt (A).
- Tightening torque - 29 Nm
2. Detach the clips (B, C and D) and then remove the seal (E) doors.
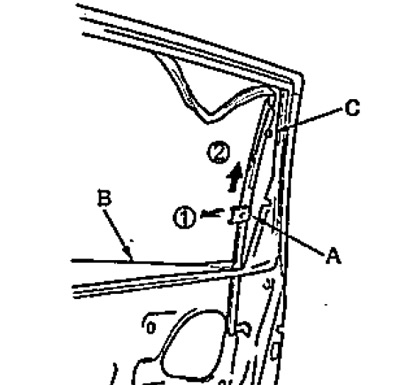
Central door seal
Remove the central seal (A) doors as shown in the picture.
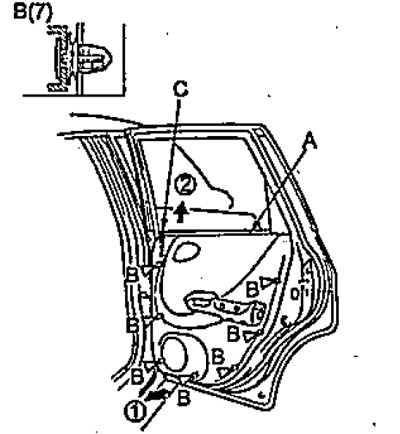
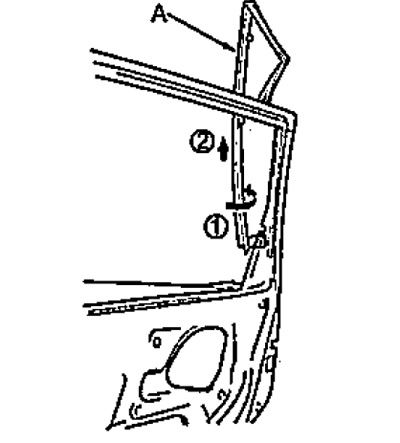
Removing the rear door trim.