
Removal and installation
1. Discharge the refrigerant.
2. Remove the relay box.
Do not disconnect the connector.
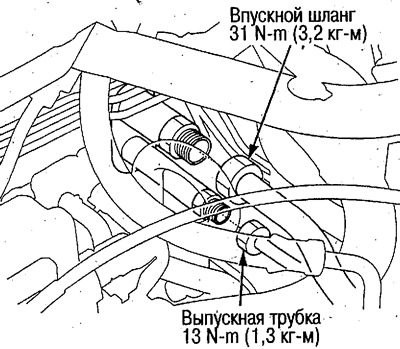
3. Disconnect the inlet hose and outlet tube.
4. Remove the instrument panel bottom cover, center bottom cover and glove box, see ch. Body.
5. Disconnect the connector and remove the e / wiring clip, unscrew the bolts and screws, remove the glove box frame. Turn off bolts, remove a clip e/conducting and remove an arm.

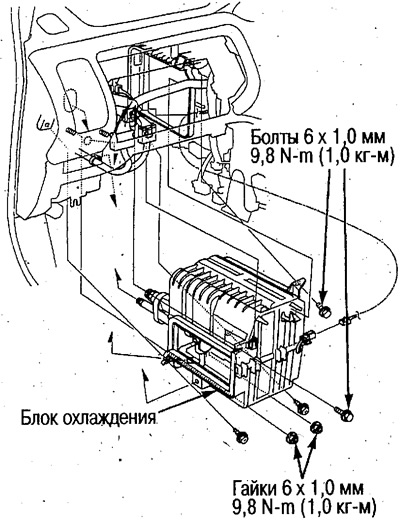
6. Remove a clip e/conductings and disconnect a socket from the gauge of the evaporator. Remove the screws, nuts and bolts and remove the cooling unit.
7. Installation is carried out in the reverse order of removal, taking into account the following.
Check for air leaks in the area of the cooling unit.
Replace tube O-rings with new ones and lubricate them with compressor oil before installation (ND-OIL8).
After installation, check the operation of the air conditioner.
Disassembly
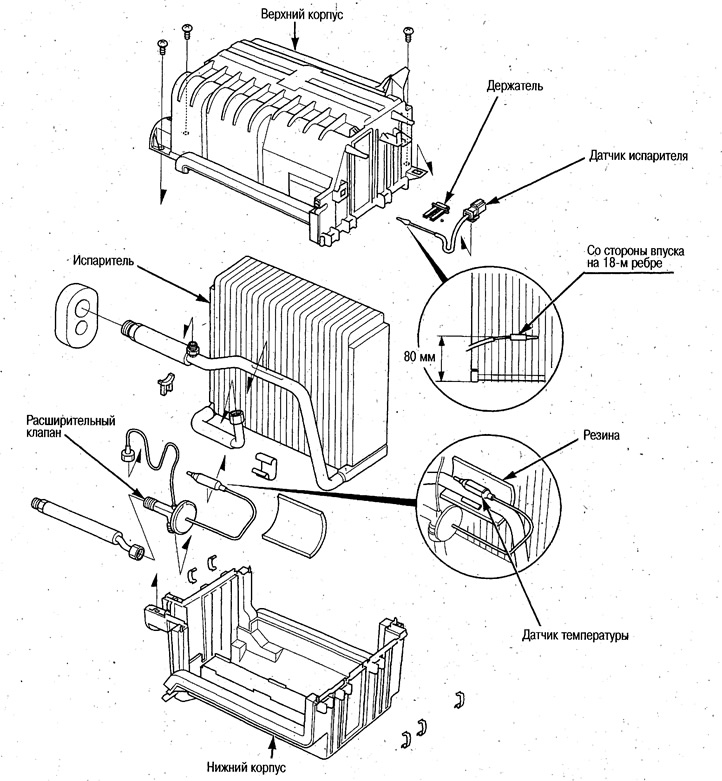
Attach the evaporator sensor to the appropriate area using the holder.
Mount the expansion valve temperature sensor on the outlet pipe and wrap it with rubber.
After assembly, check and make sure there are no gaps between the housings.