
Checking the relay
4-pin relays
1. Remove the relay.
All relays are tested in the same way.
2. Check the conductivity between contacts No.1 and No.2.
3. Check the conductivity of contacts No.3 and No.4.
4. Apply voltage from the battery between contacts No.3 and No.4 and check the conductivity between contacts No.1 and No.2.
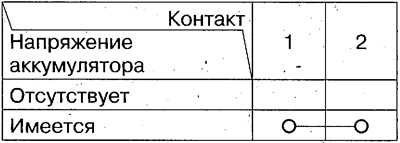
Electrical diagram
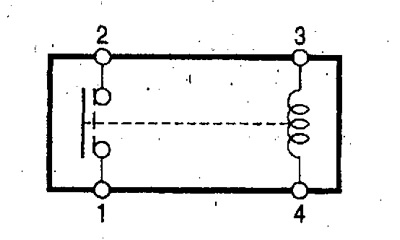
- Tail light relay
- Horn relay
- Cruise control system relay
- Fog light relay
- Reverse Light Relay
- Starter cut-off relay
- Relay complement: electrical equipment
- Window lifter relay
- Relay 1 lighting fixtures
- Relay 2 lighting devices
- Radiator Fan Relay
- Condenser Fan Relay
- Air Conditioning Compressor Clutch Relay
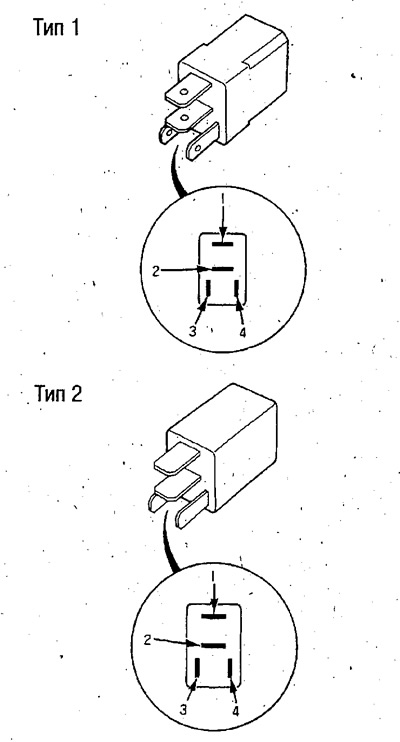
1. Remove the relay.
All relays are tested in the same way.
2. Check the conductivity between contacts No.1 and No.3.
3. Check the conductivity between contacts No.2 and No.4.
4. Apply voltage from the battery to contacts No.2 and No.4 and check the conductivity between contacts No.1 and No.3.
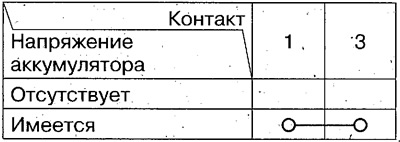
Electrical diagram
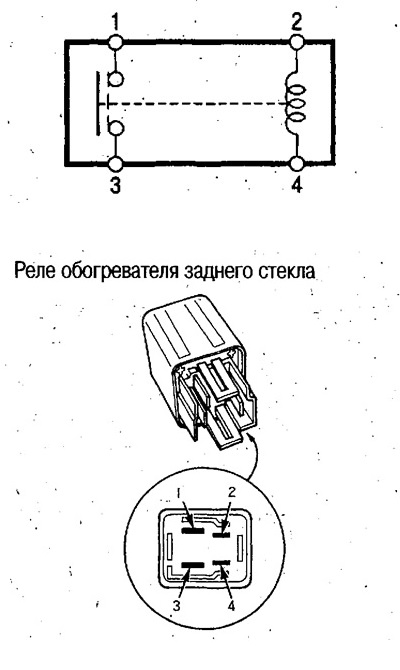 |
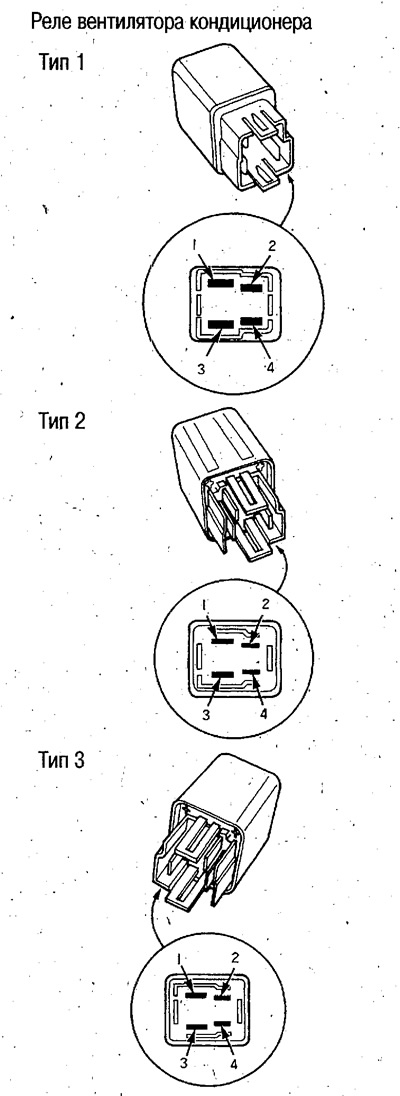 |
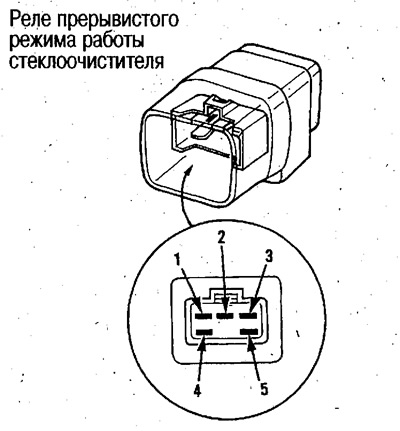
5-pin relay
1. Remove the relay.
All relays are tested in the same way.
2. Make sure that there is conductivity between contacts No.3 and No.5, No.2 and No.4, and that there is no conductivity between contacts No.1 and No.2.
3. Apply voltage from the battery to contacts #3 and #5 and make sure that there is conductivity between contacts #2 and #4, and that there is no conductivity between contacts #2 and #4.
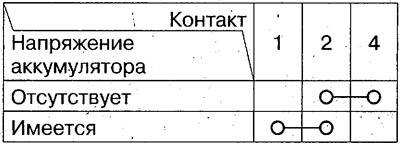
Electrical diagram
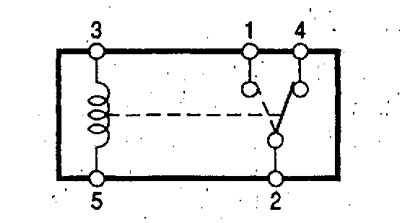 |
 |